A 15ft Pram for Dinghy Cruising
20171009
20171011
20171014
20171022
20171026
20171027
20171028
20171031
20171102
20171105
20171106
20171112
20171115
20171116
20171117
20171119
20171122
20171126
20171201
20171203
20171208
20171231
20180106
20180108
20180121
20180126
20180205
20180311
20180316
20180329
20180330
20180331
20180401
20180402
20180404
20180405
20180406
20180407
20180409
20180411
20180413
20180414
20180415
20180420
20180421
20180422
20180424
20180426
20180427
20180429
20180430
20180501
20180503
20180505
20180507
20180510
20180511
20180512
20180513
20180514
20180518
20180527
20180602
20180603
20180609
20180610
<<
>>
20180427 |
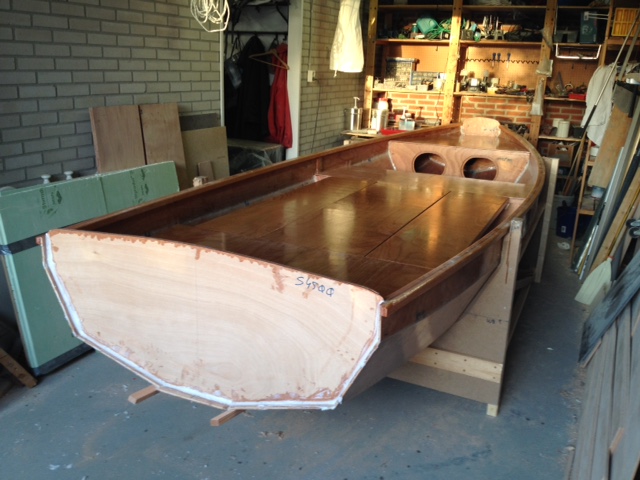
20180427Prepared Hatseflats for glueing the decks.
20180428Sanded all the deck stringers. Glued the decks into place. Weighted the decks onto the deck stringers with bricks and other heavy weights I could find.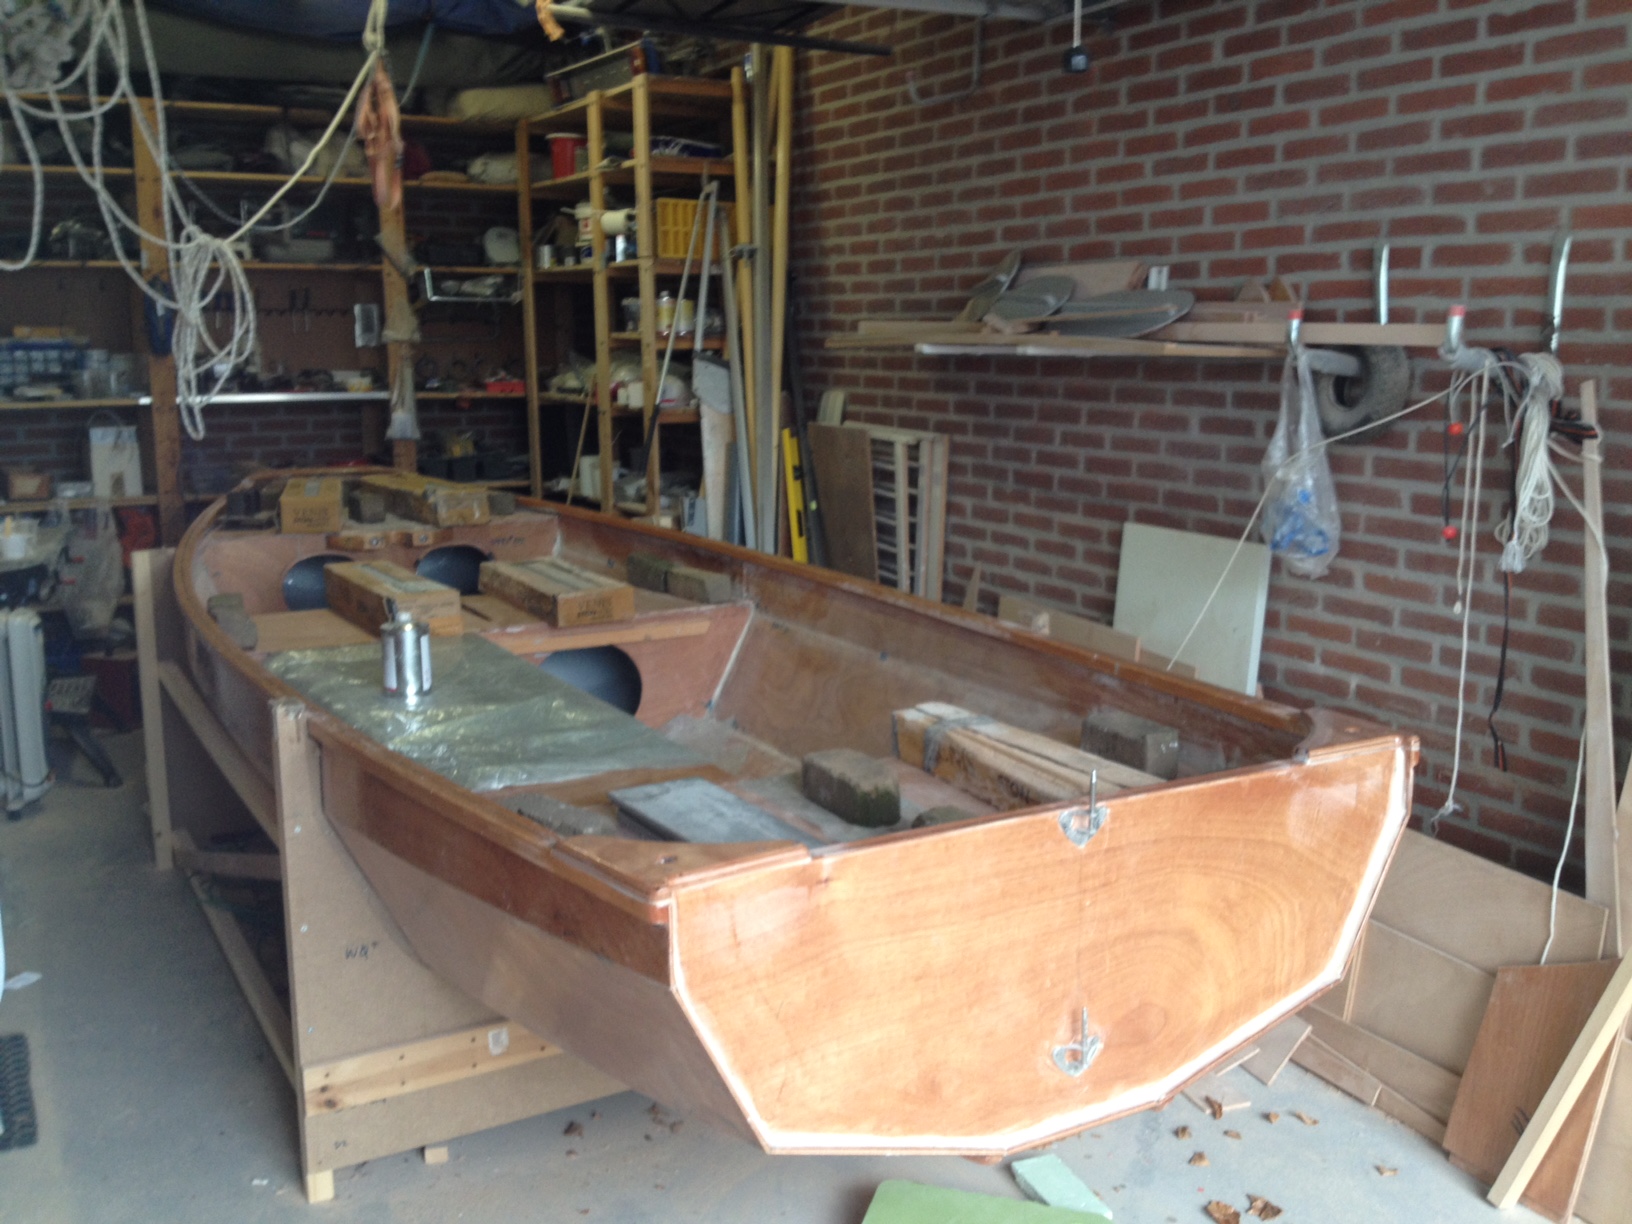 20180427_IMG_0672.JPG 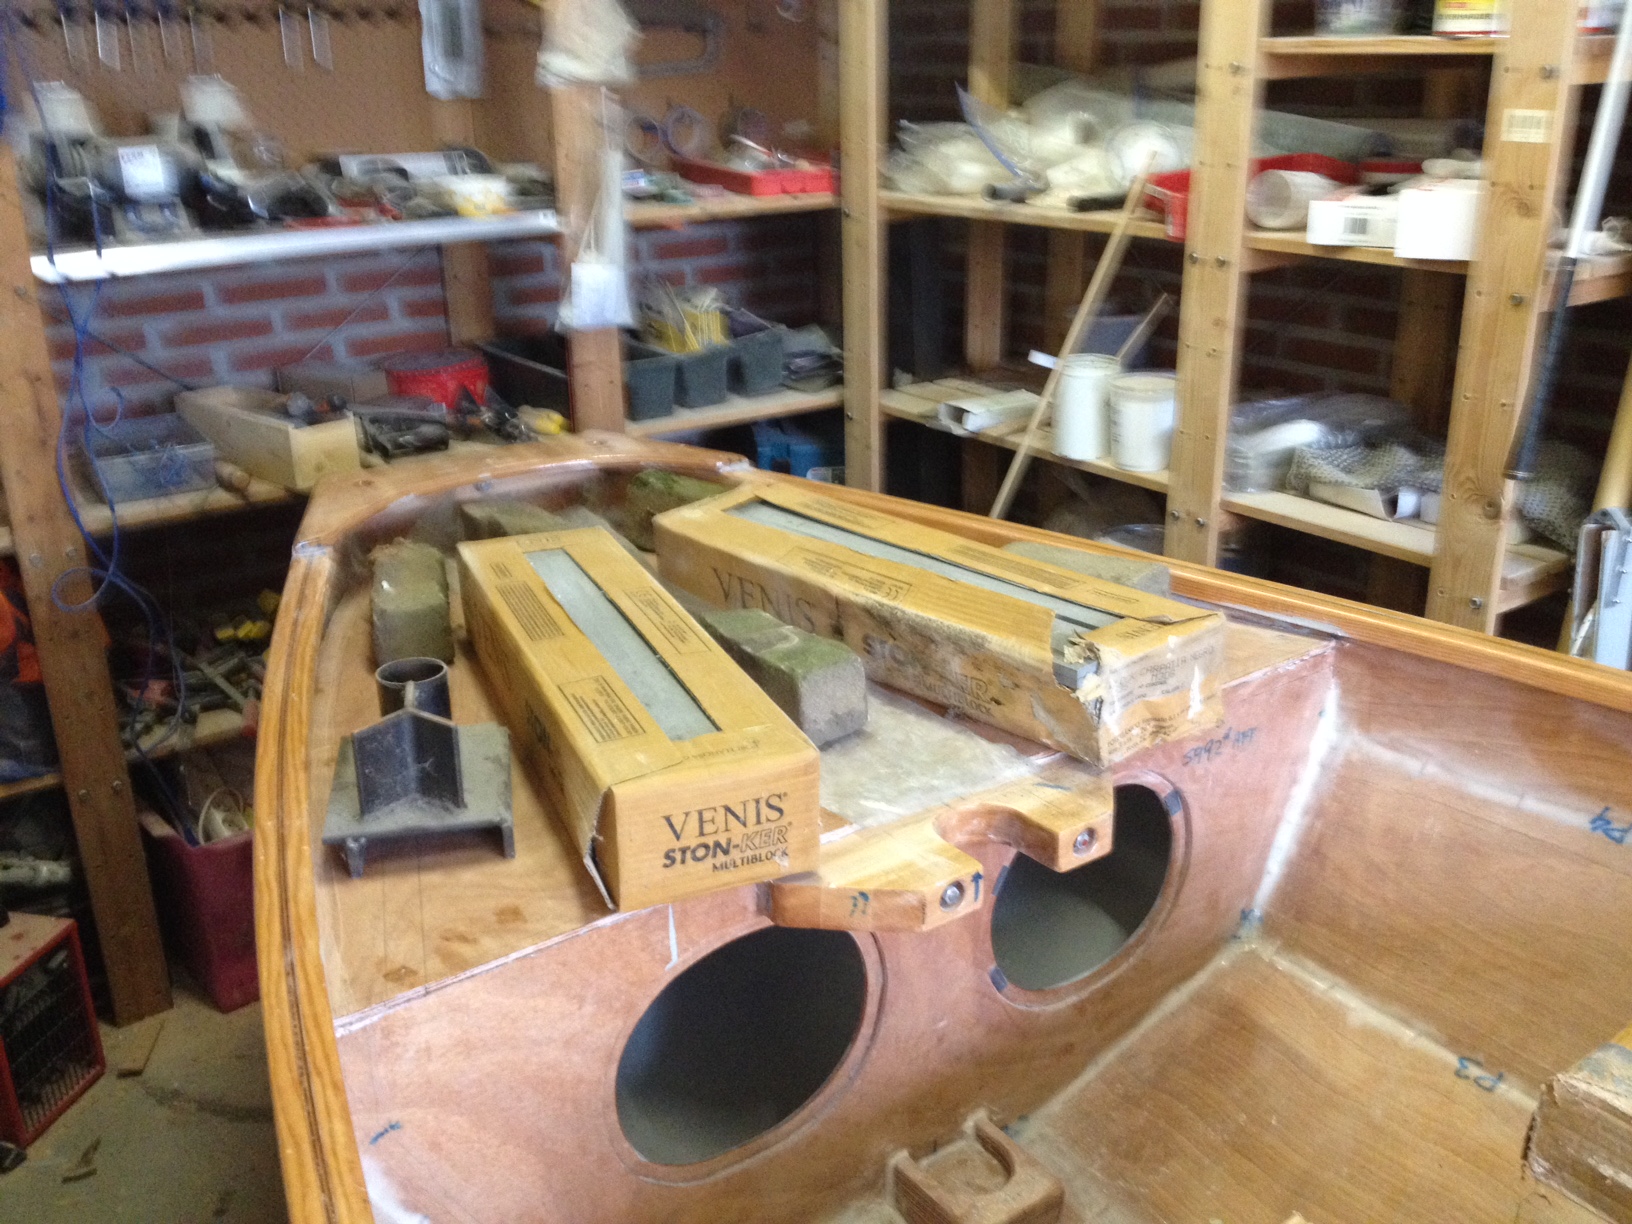 20180427_IMG_0673.JPG |