A 15ft Pram for Dinghy Cruising
20180625
20180626
20180627
20180628
20180629
20180902
20180915
20181014
20190208
20190422
20190510
20190511
20190512
20190525
20190601
20190803
20190804
20190805
20190807
20190811
20190819
20190820
20190821
20190822
20190823
20190828
20190908
20190922
20200216
20200603
20200612
20200712
20200718
20200719
20200727
20200822
20200905
20200910
20200911
20200912
20200913
20200920
20210305
20210509
20210724
20210905
20210912
20211003
20220430
20220508
20220603
20220618
20220821
20220828
20220904
20220911
20221009
20230423
20230520
20230528
20230625
20230805
20230806
20230810
20230903
20230906
20230910
20230911
20231001
20231008
20240423
20240515
20240603
20240614
20240623
20240710
20240714
20240716
20240720
20240723
20240725
20240726
20240727
20240730
20240908
20240915
20240929
20241007
20241019
20241021
20241110
20250420
20250421
20250422
20250428
20250504
20250505
20250622
20250630
20250707
20250716
20250717
20250718
20250719
20250720
20250721
20250724
20250725
20250825
20250907
20250910
20251019
<<
>>
20200718 |
|
With the box sorted it was now time to add the lid and tie-downs. During the week I had glued tie-downs to the sides and front to attach a spectra line for carrying the box in and out of the boat. I used three tie-downs from the small that I had made in the 2018-2019 winter. These tie-downs were made from two layers of 8mm ply. With an ample glueing surface they are immensely strong without need for screws (I avoid screws whenever I can). Designing and building the lid was an interesting experiment. I wanted the lid to fit over the box to make it splashwater proof. To prevent the lid from sticking to the box I did not want a tight fit. My solution was to temporarily increase the size of the box with a layer of cardboard stuck between the lid and the box. I covered the top of the box with masking tape as a release agent. The next step was to cut the lid sides roughly to size and glue the corners. I stapled the sides to the box to keep the lid sides in place. The last step was to glue the oversized lid to the sides and weigh them down with bricks. 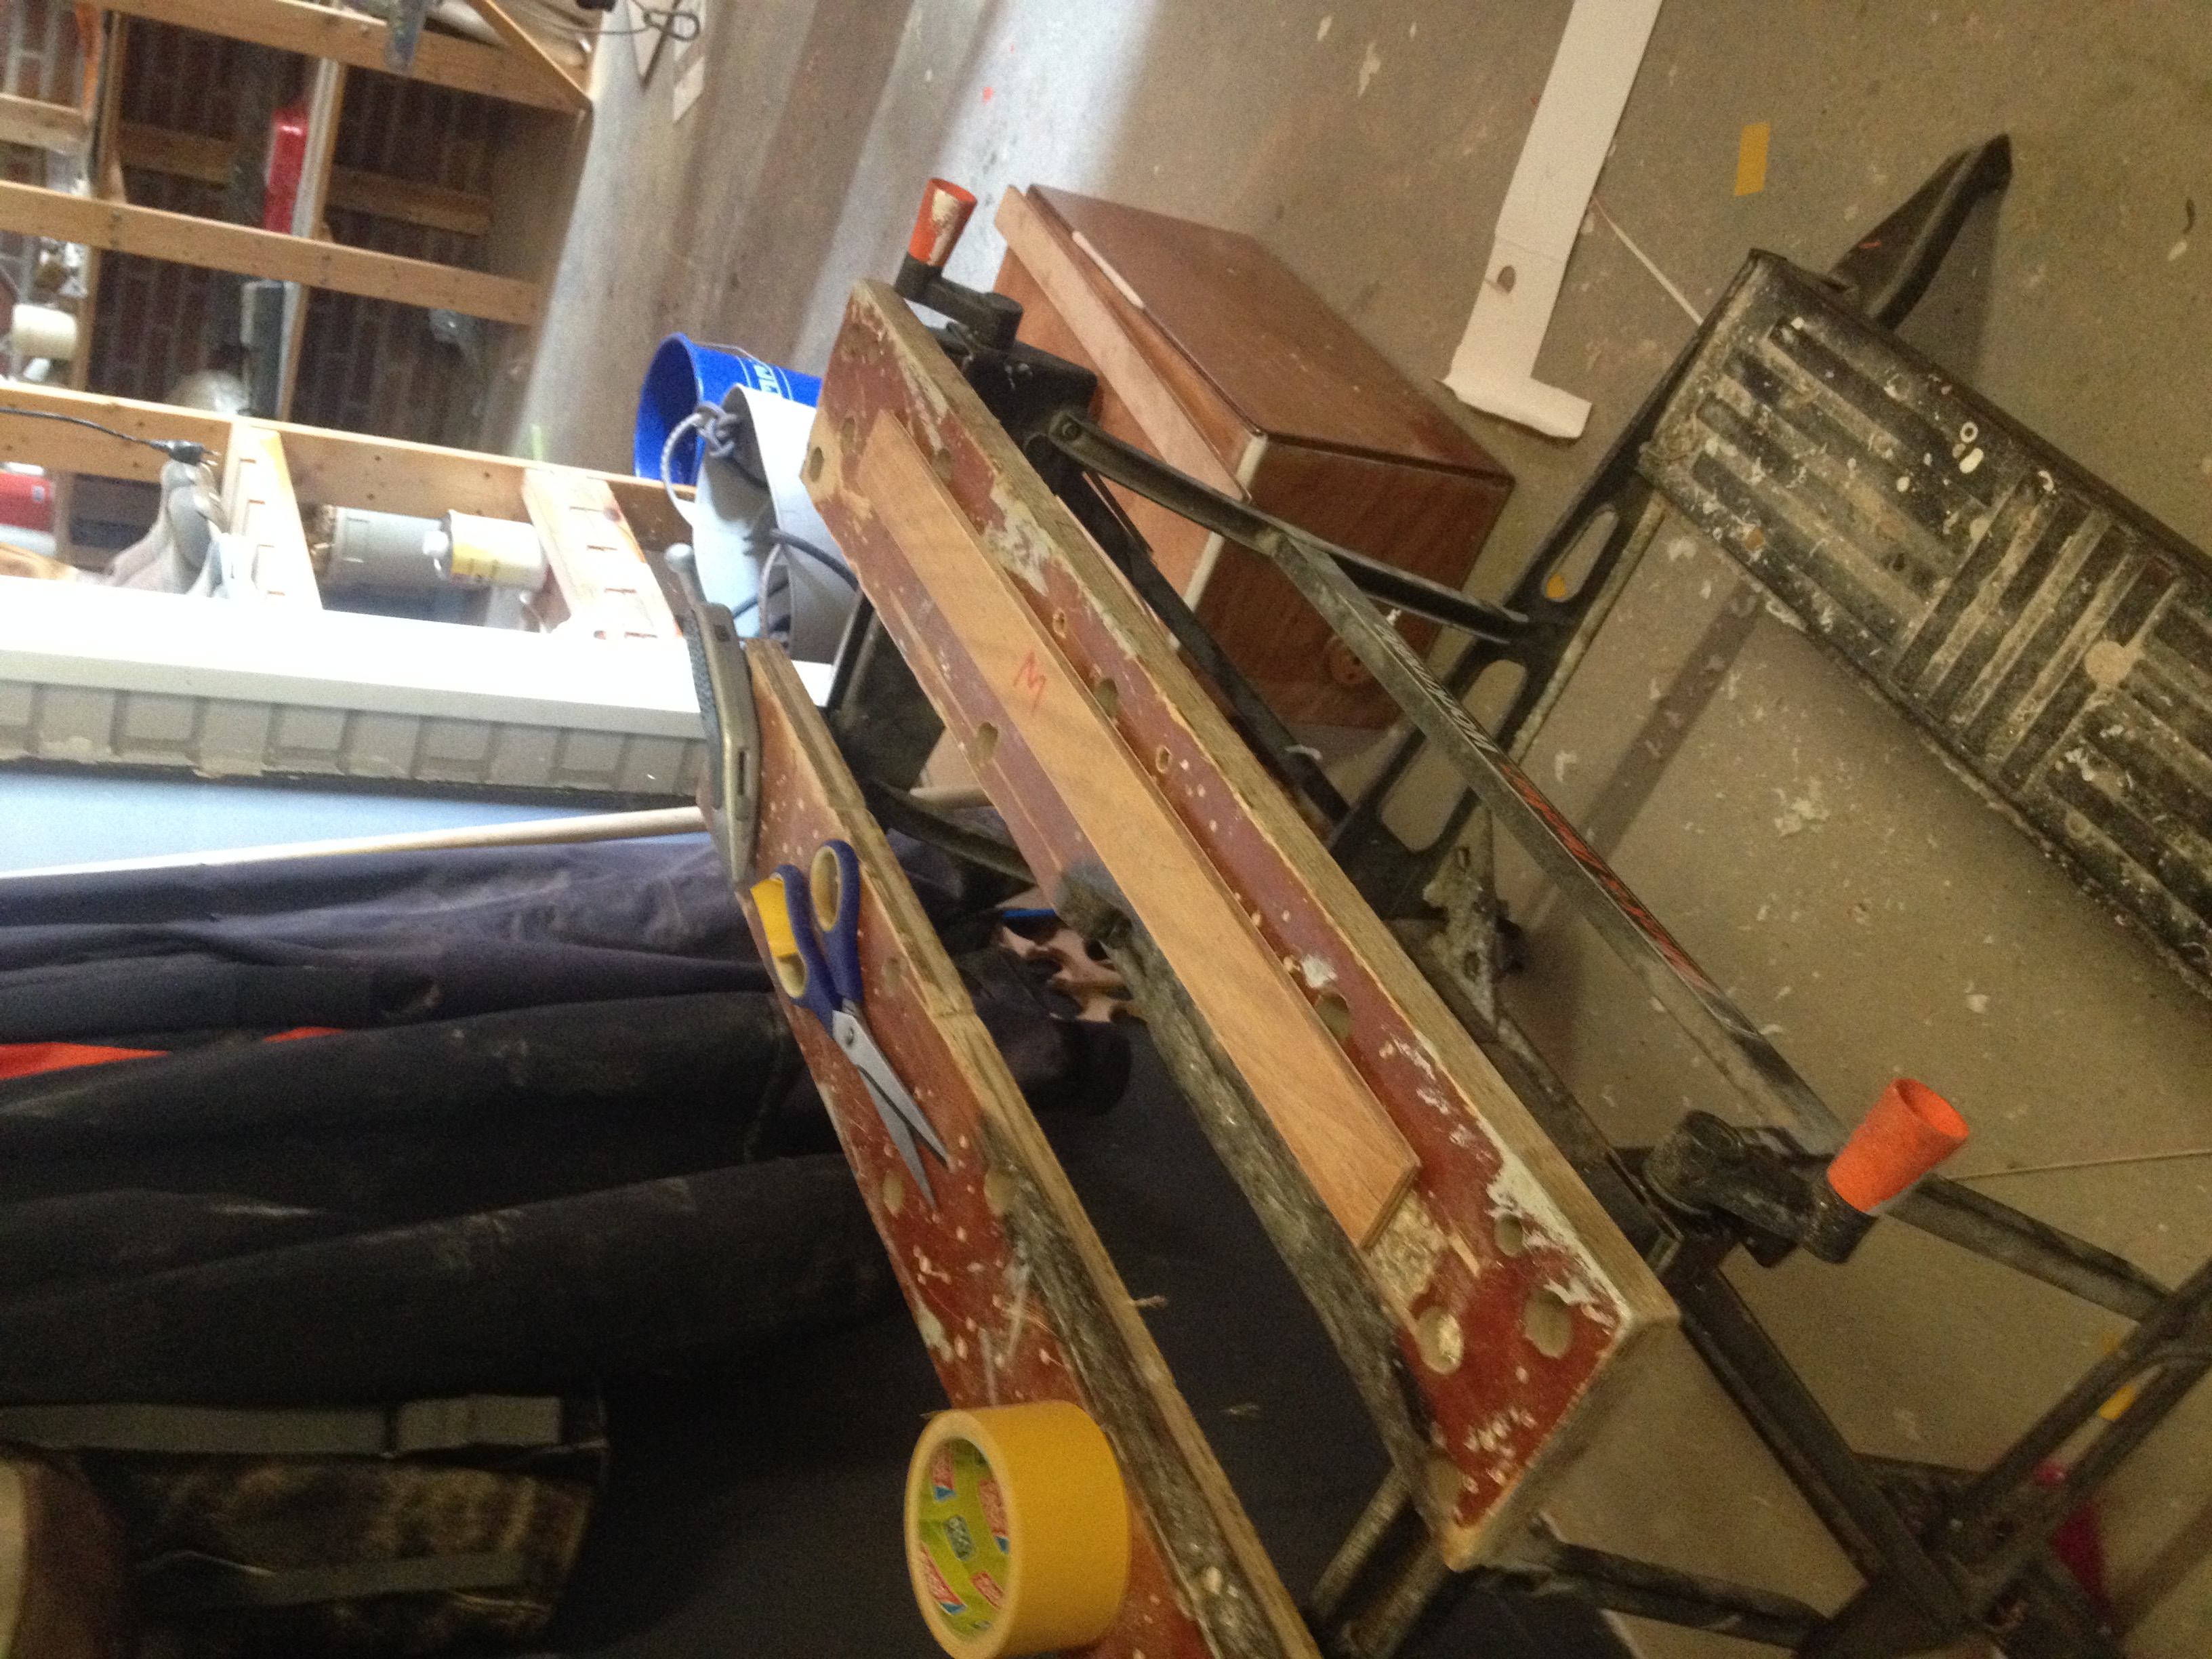  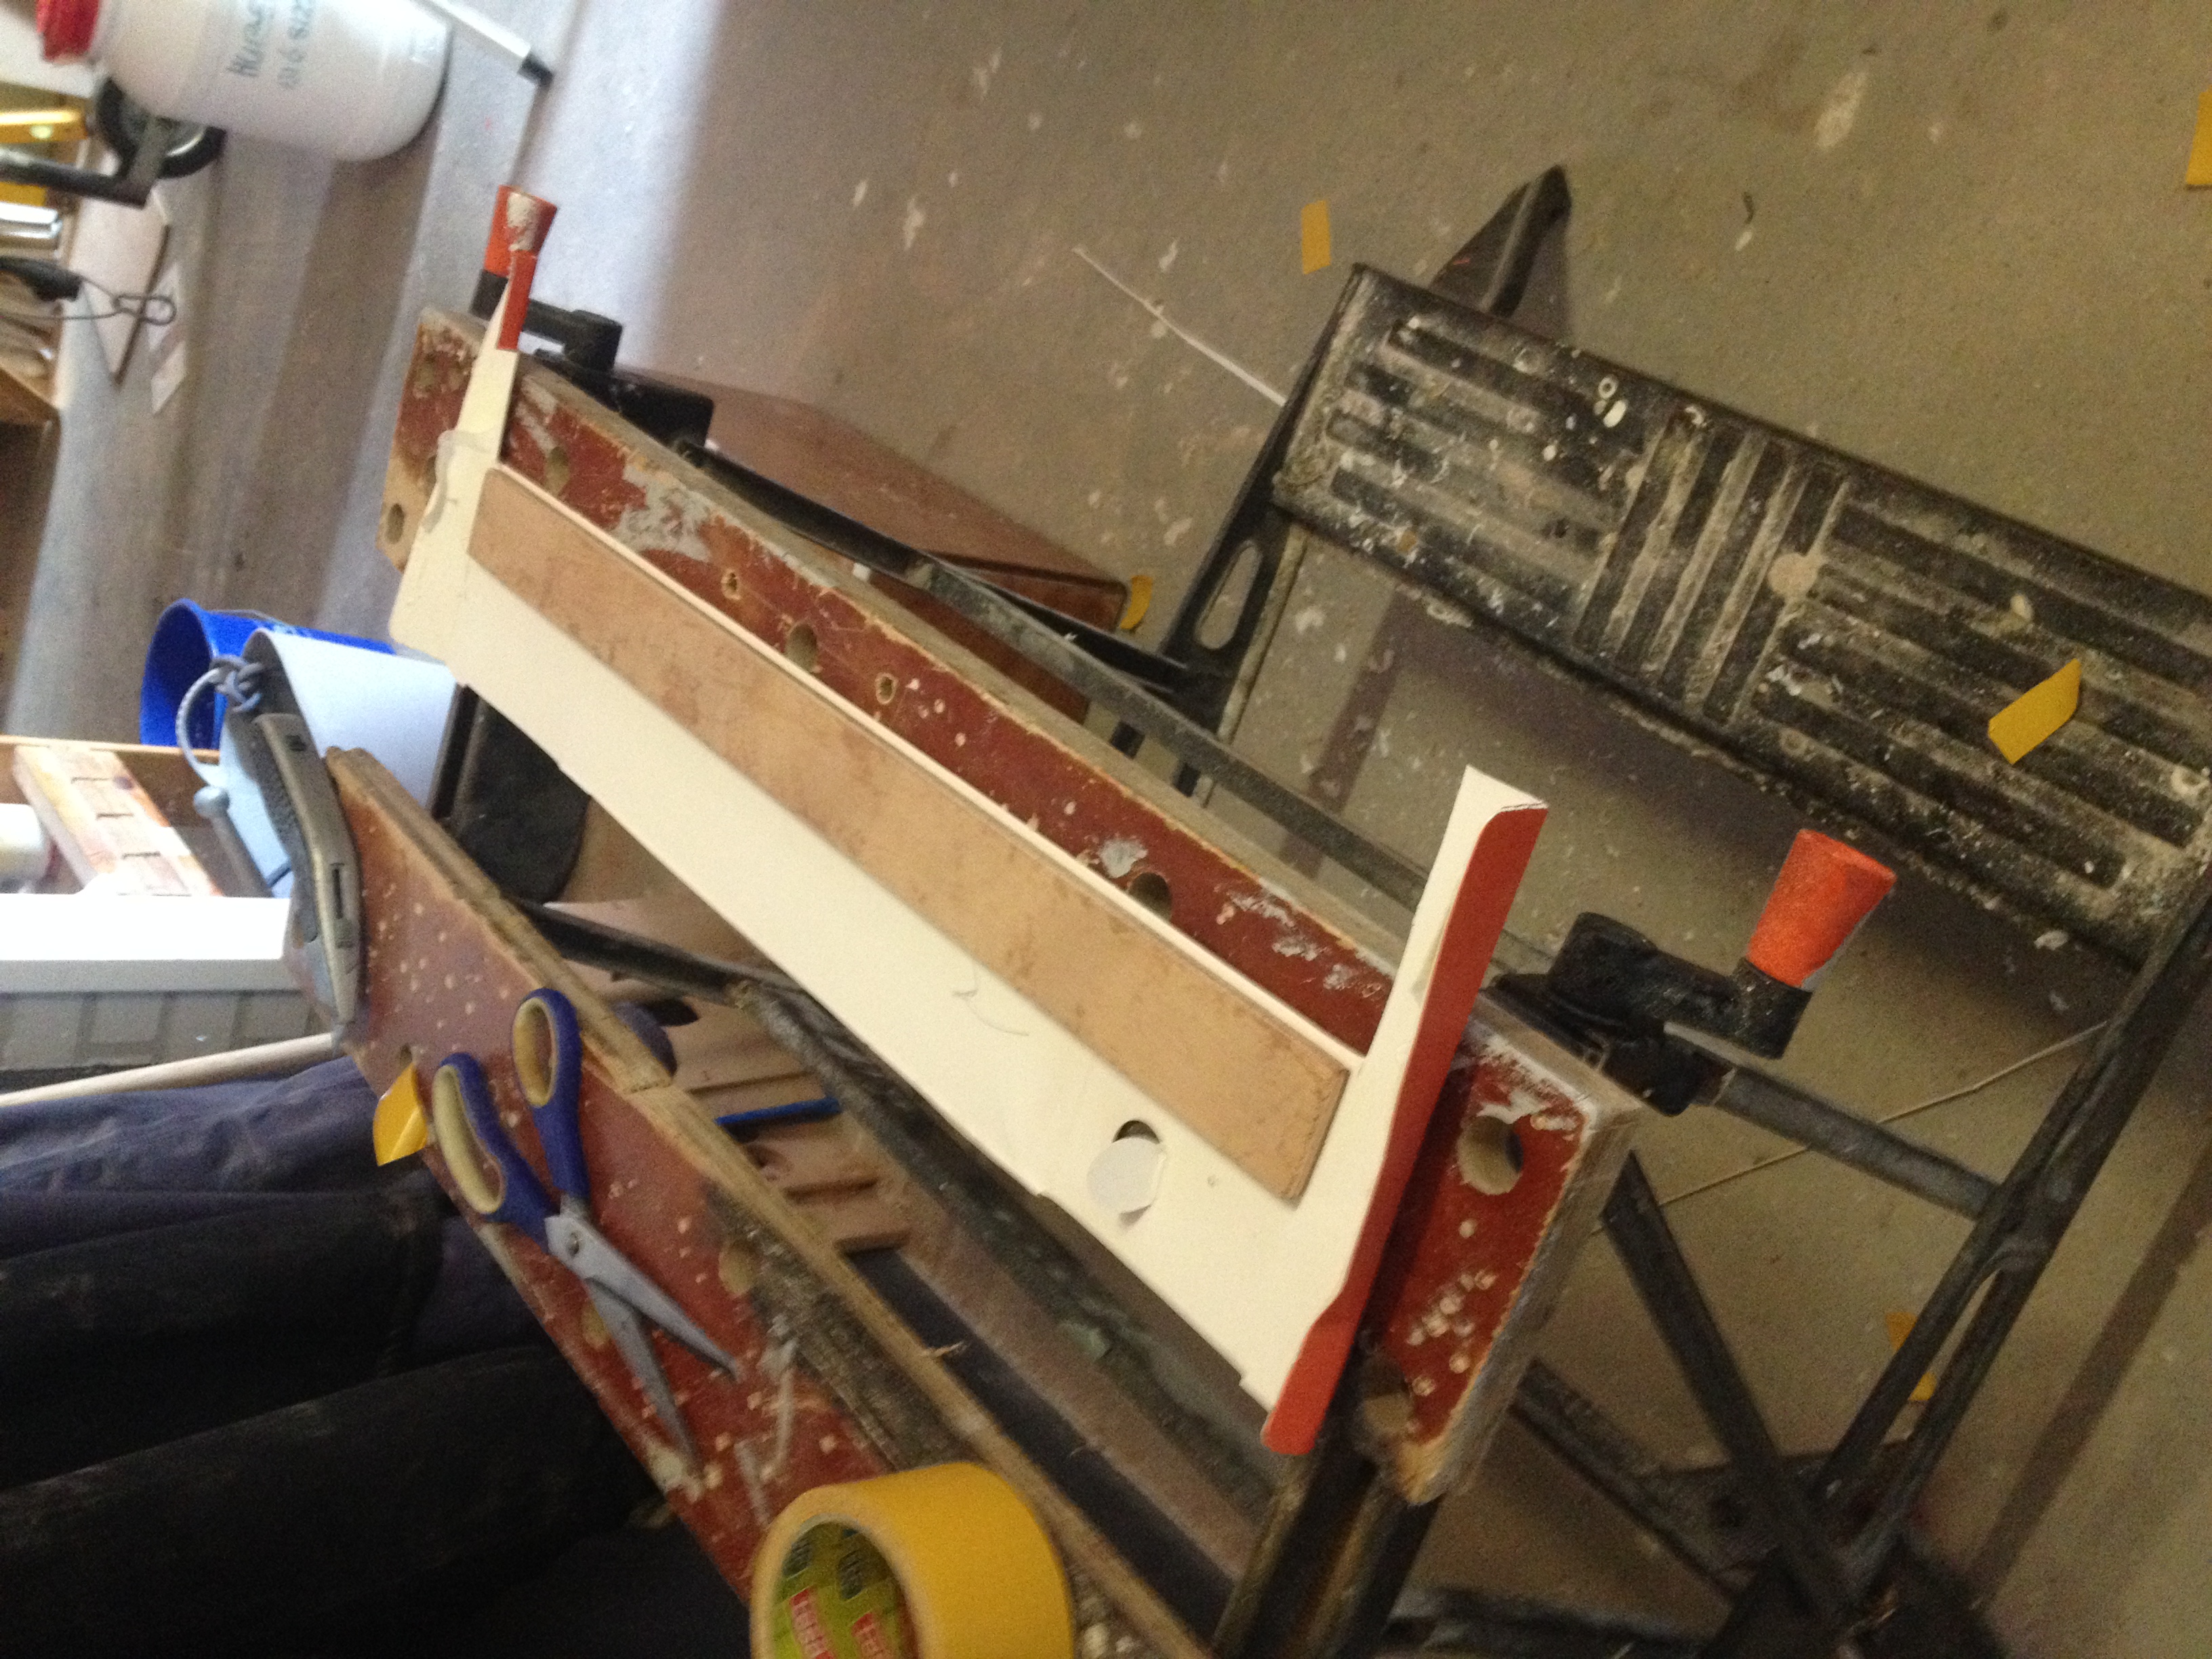 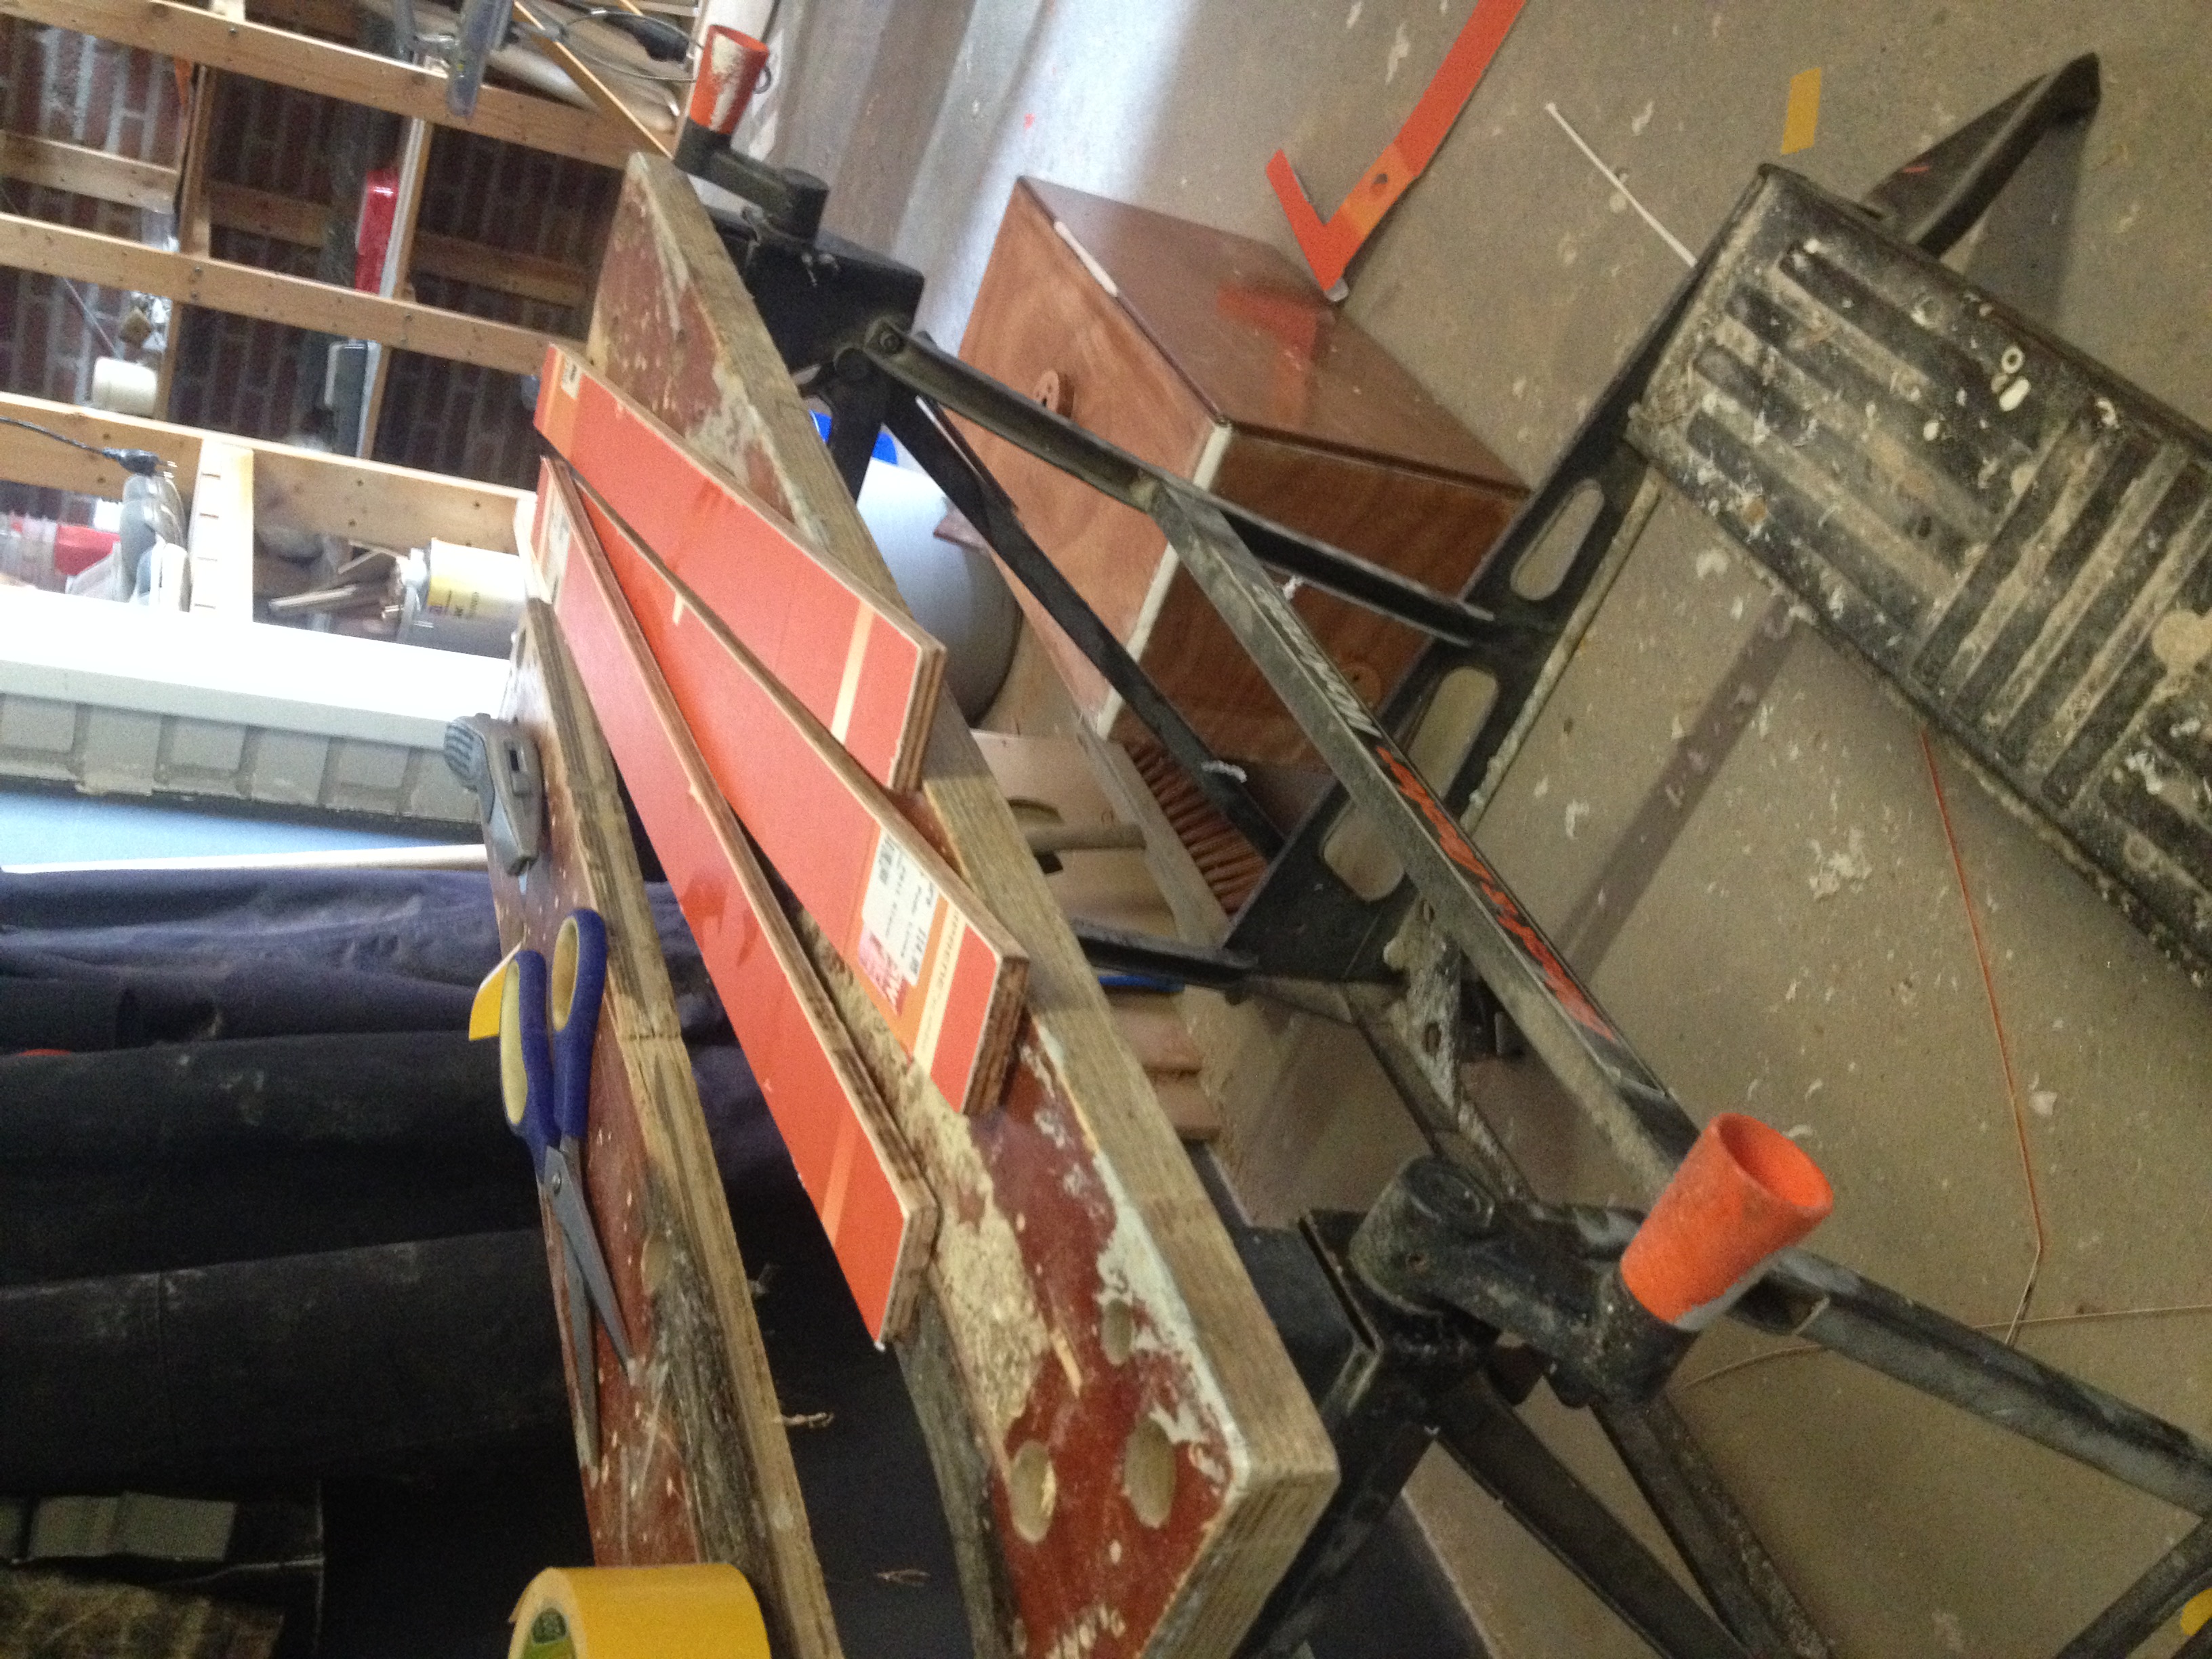 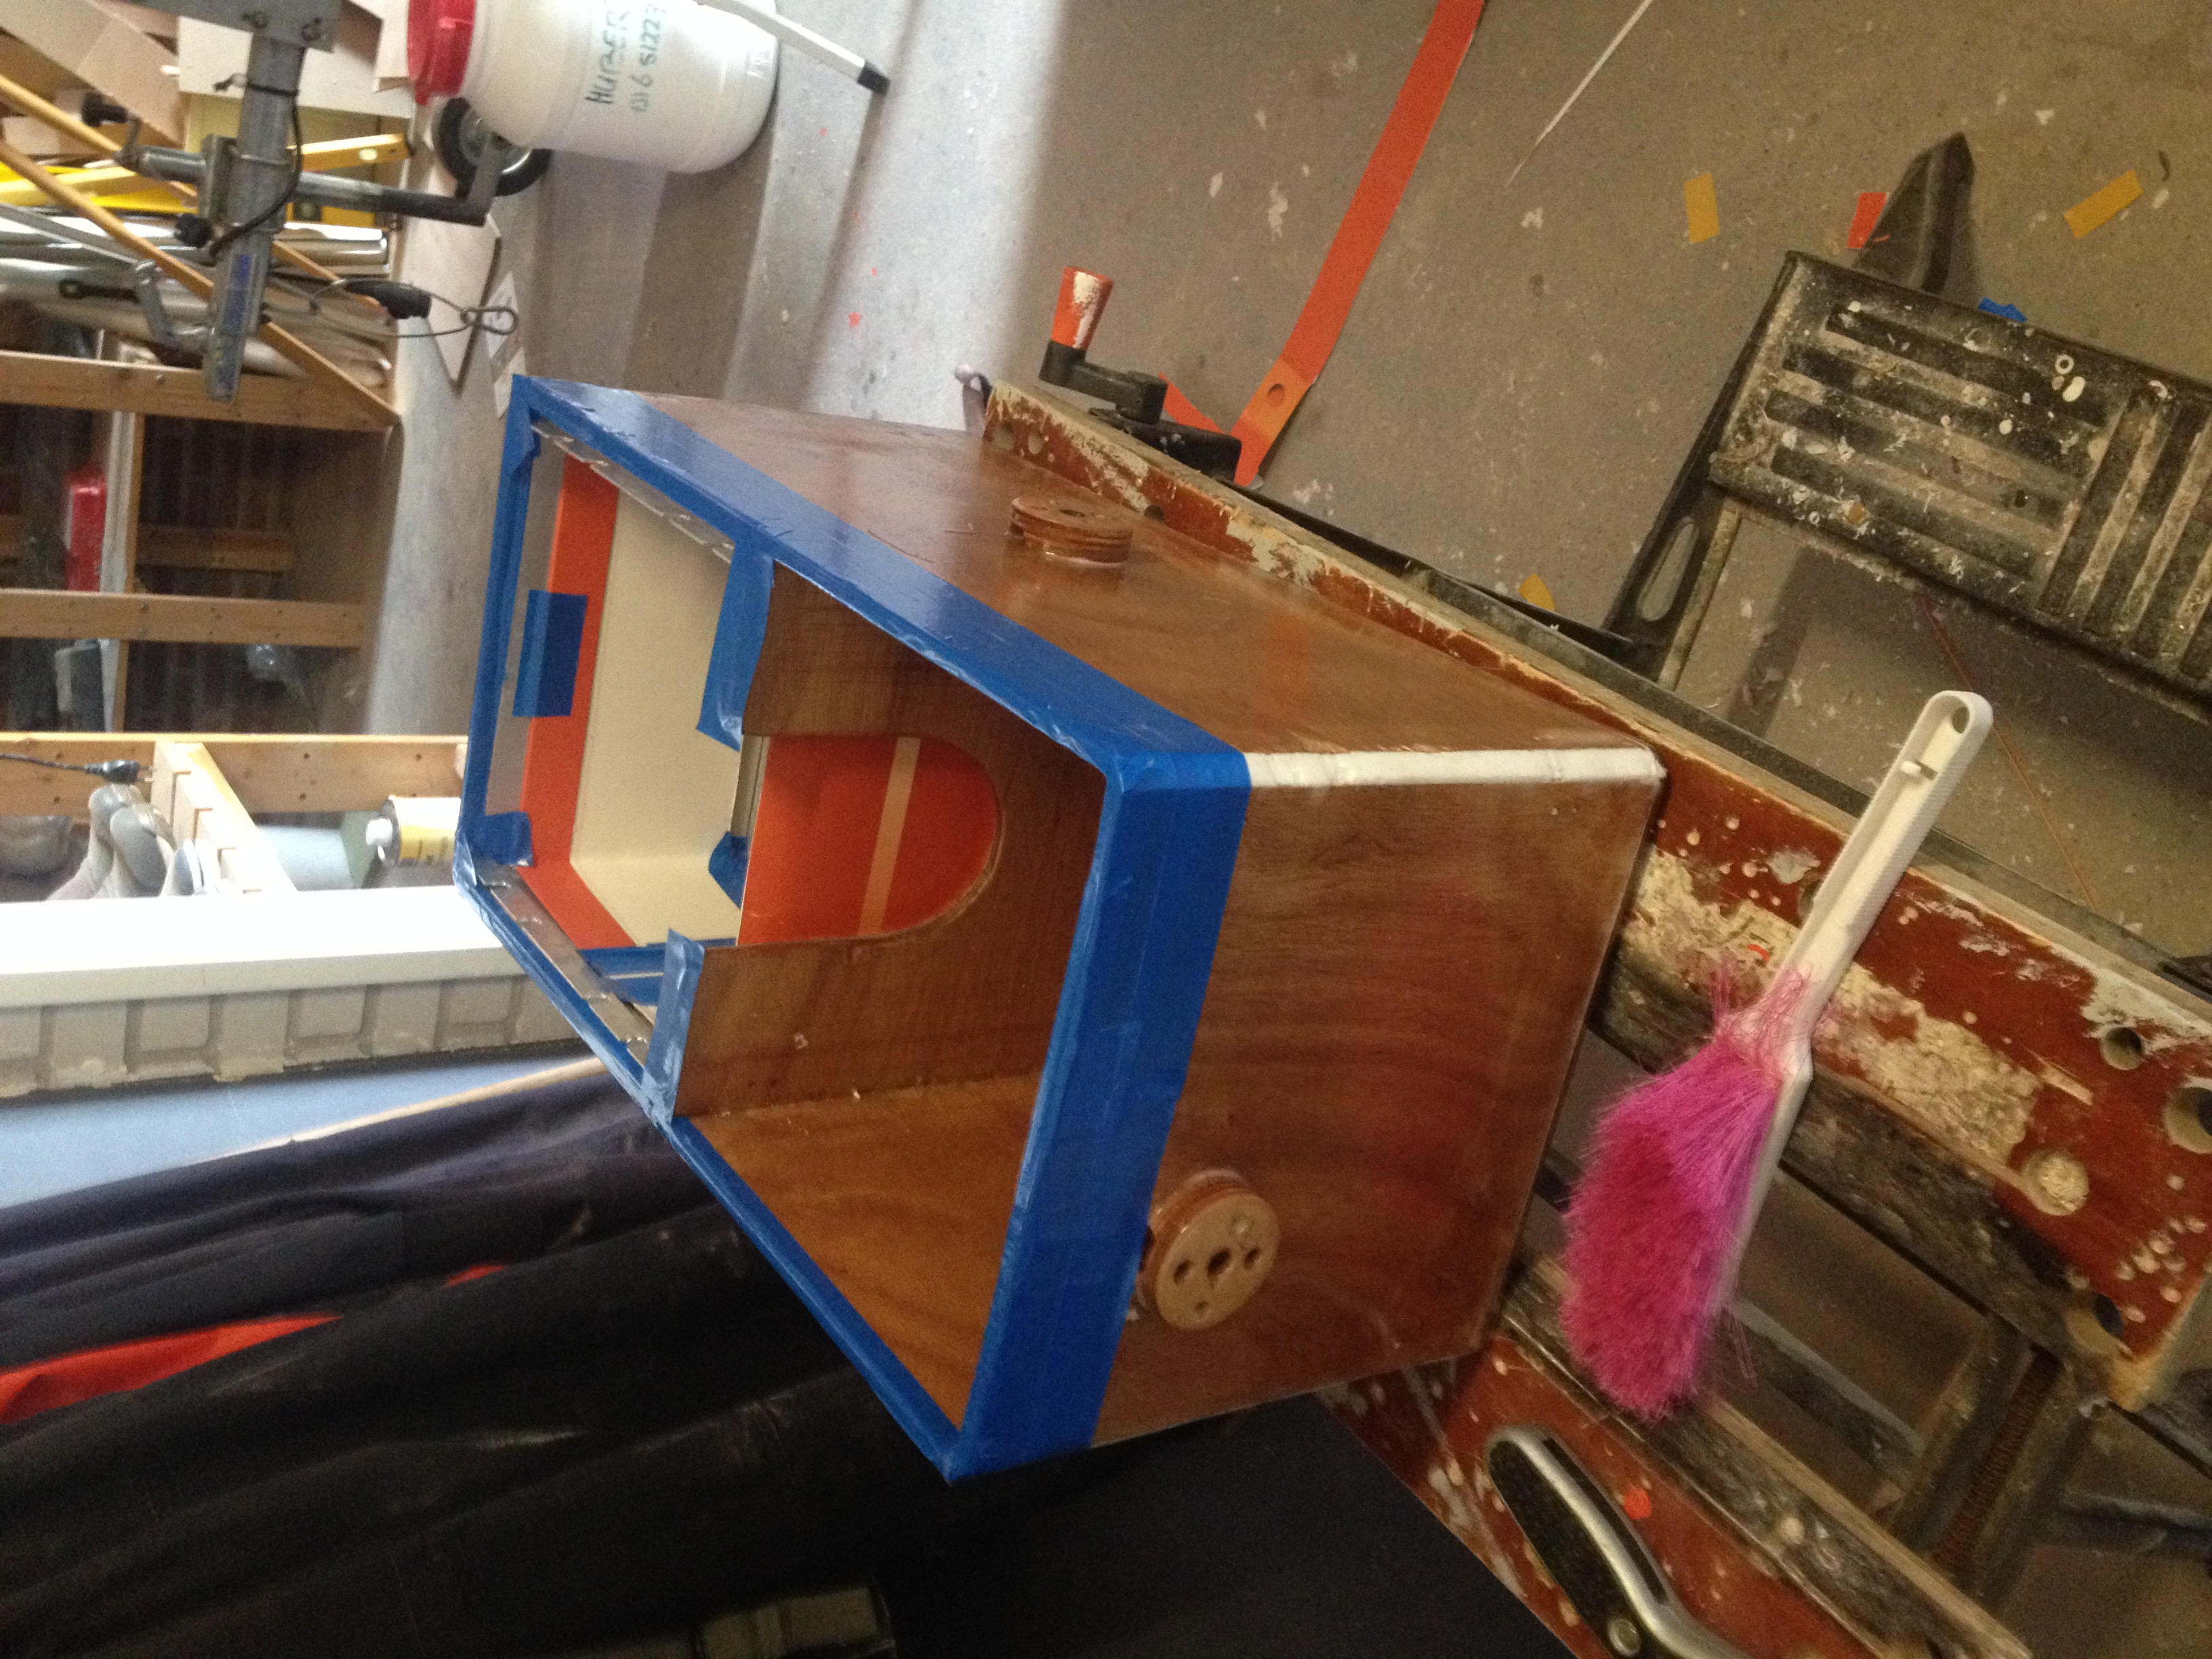 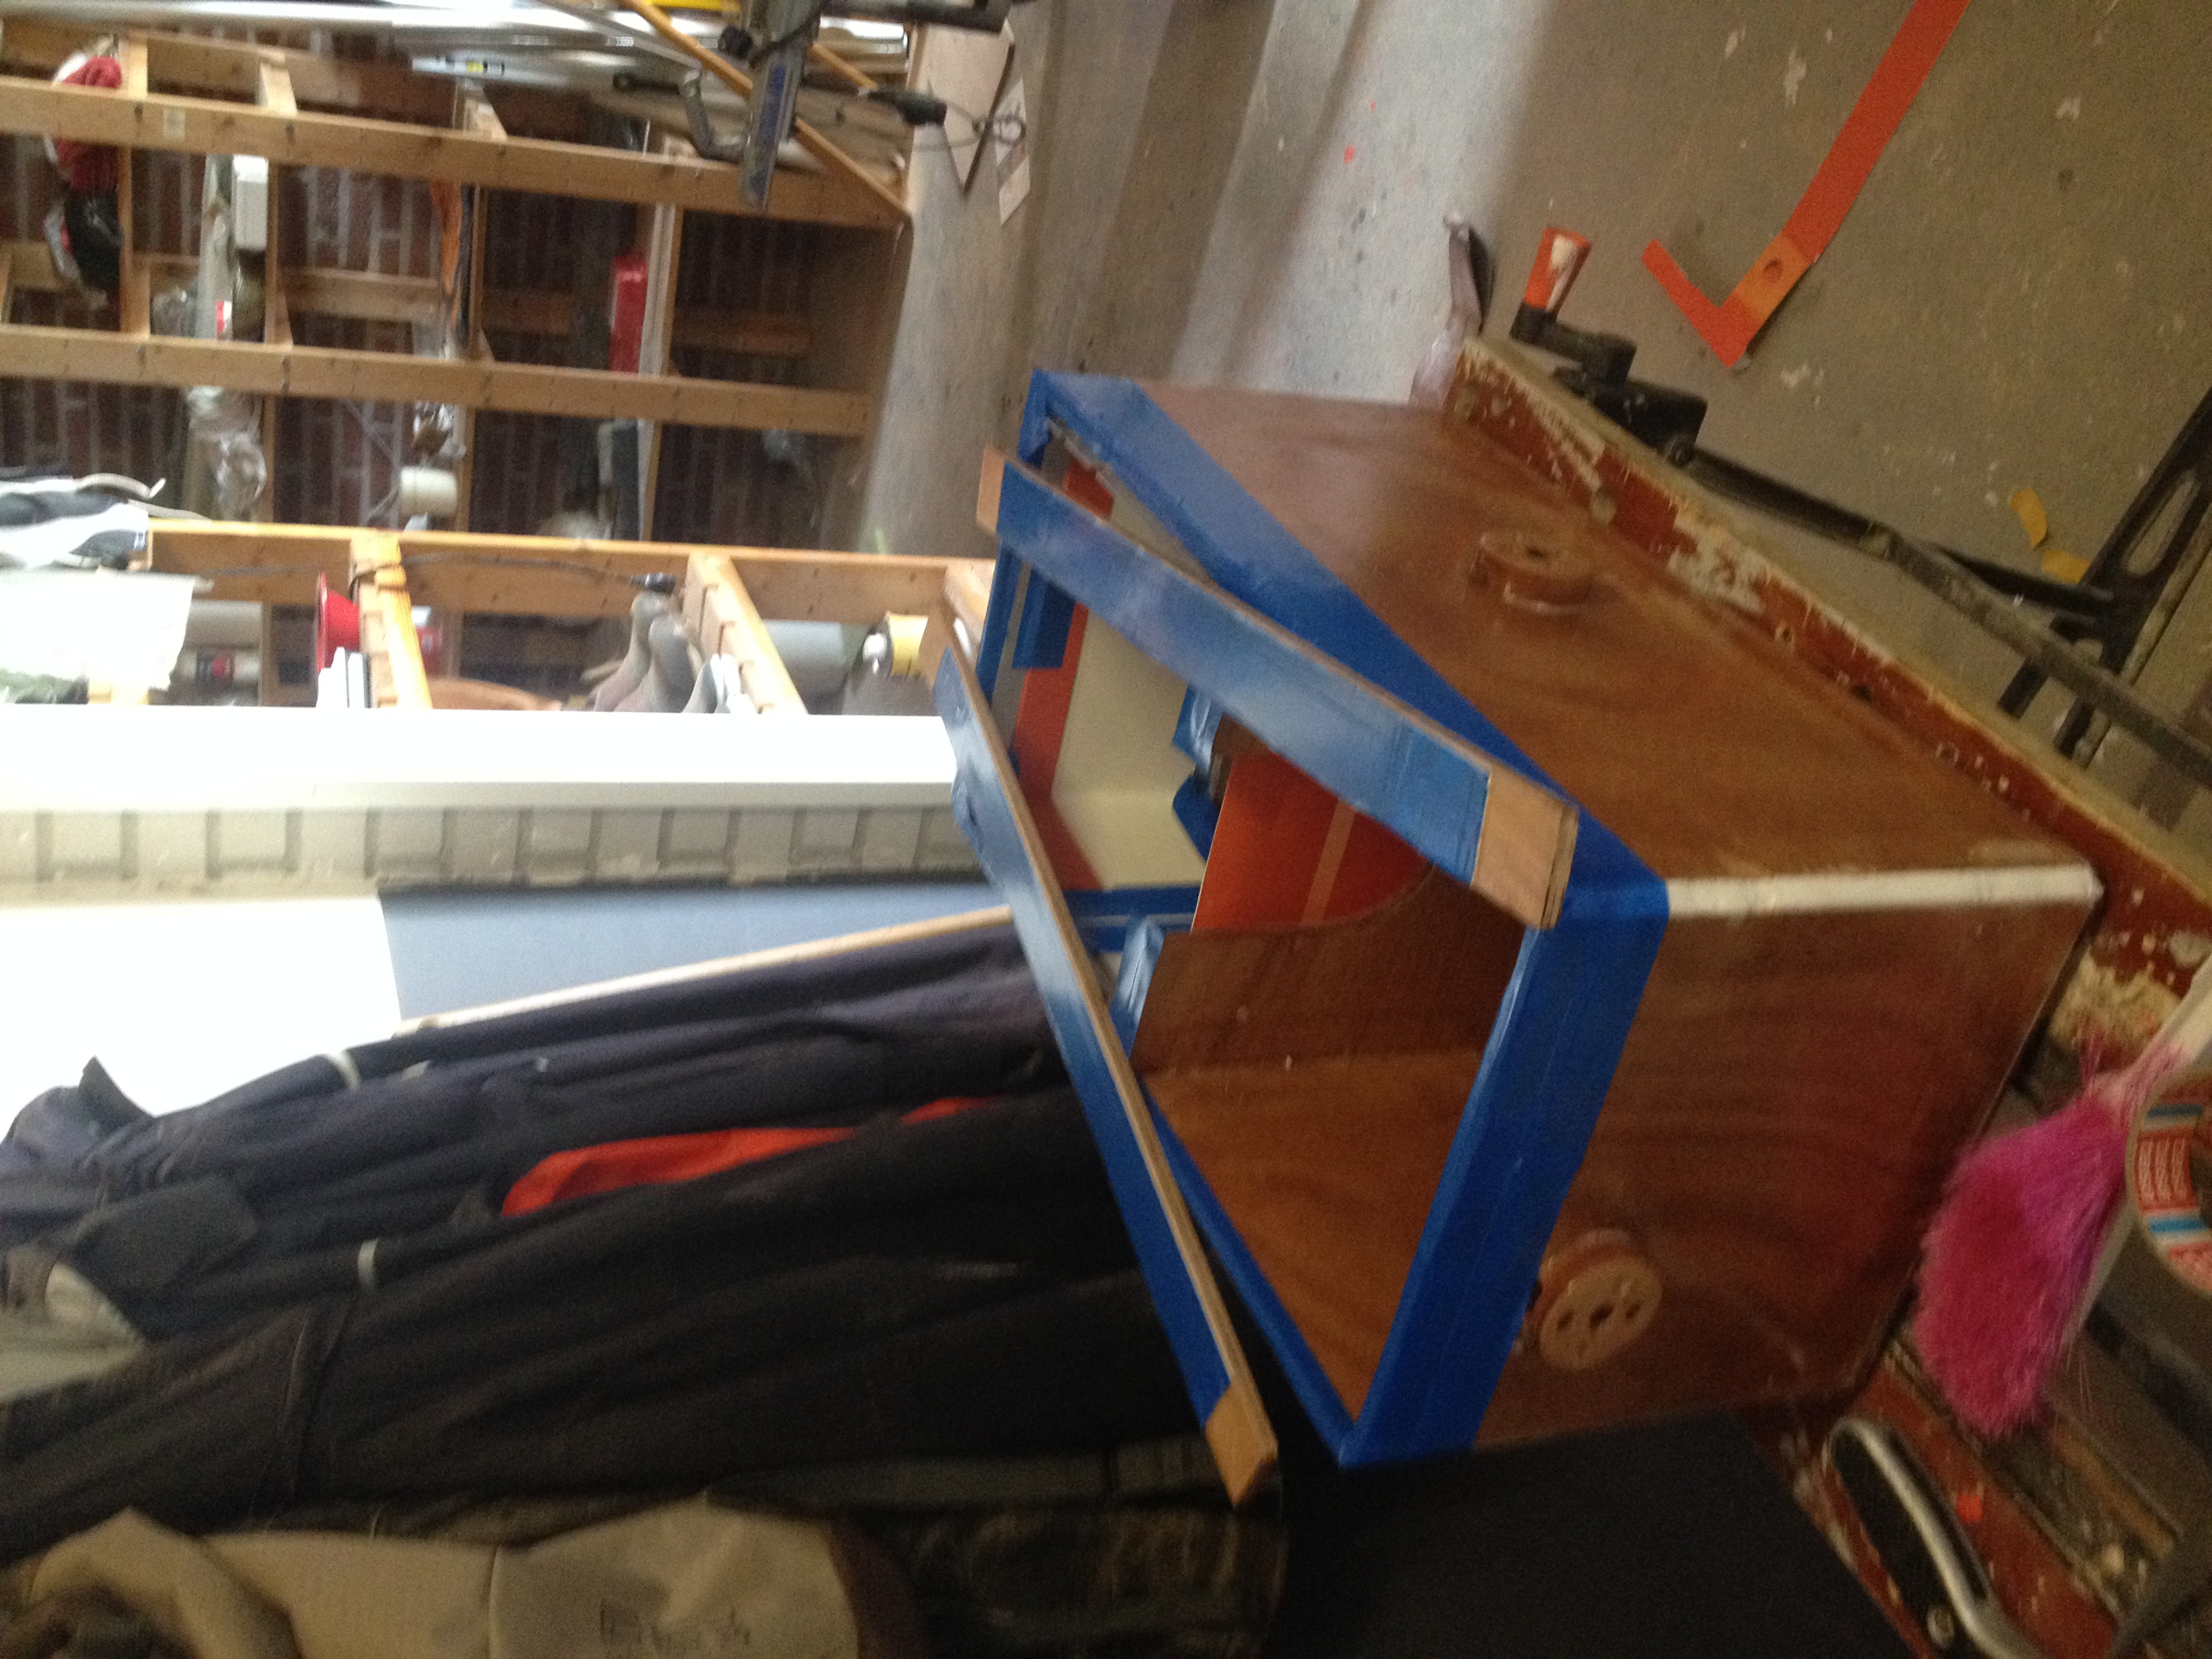 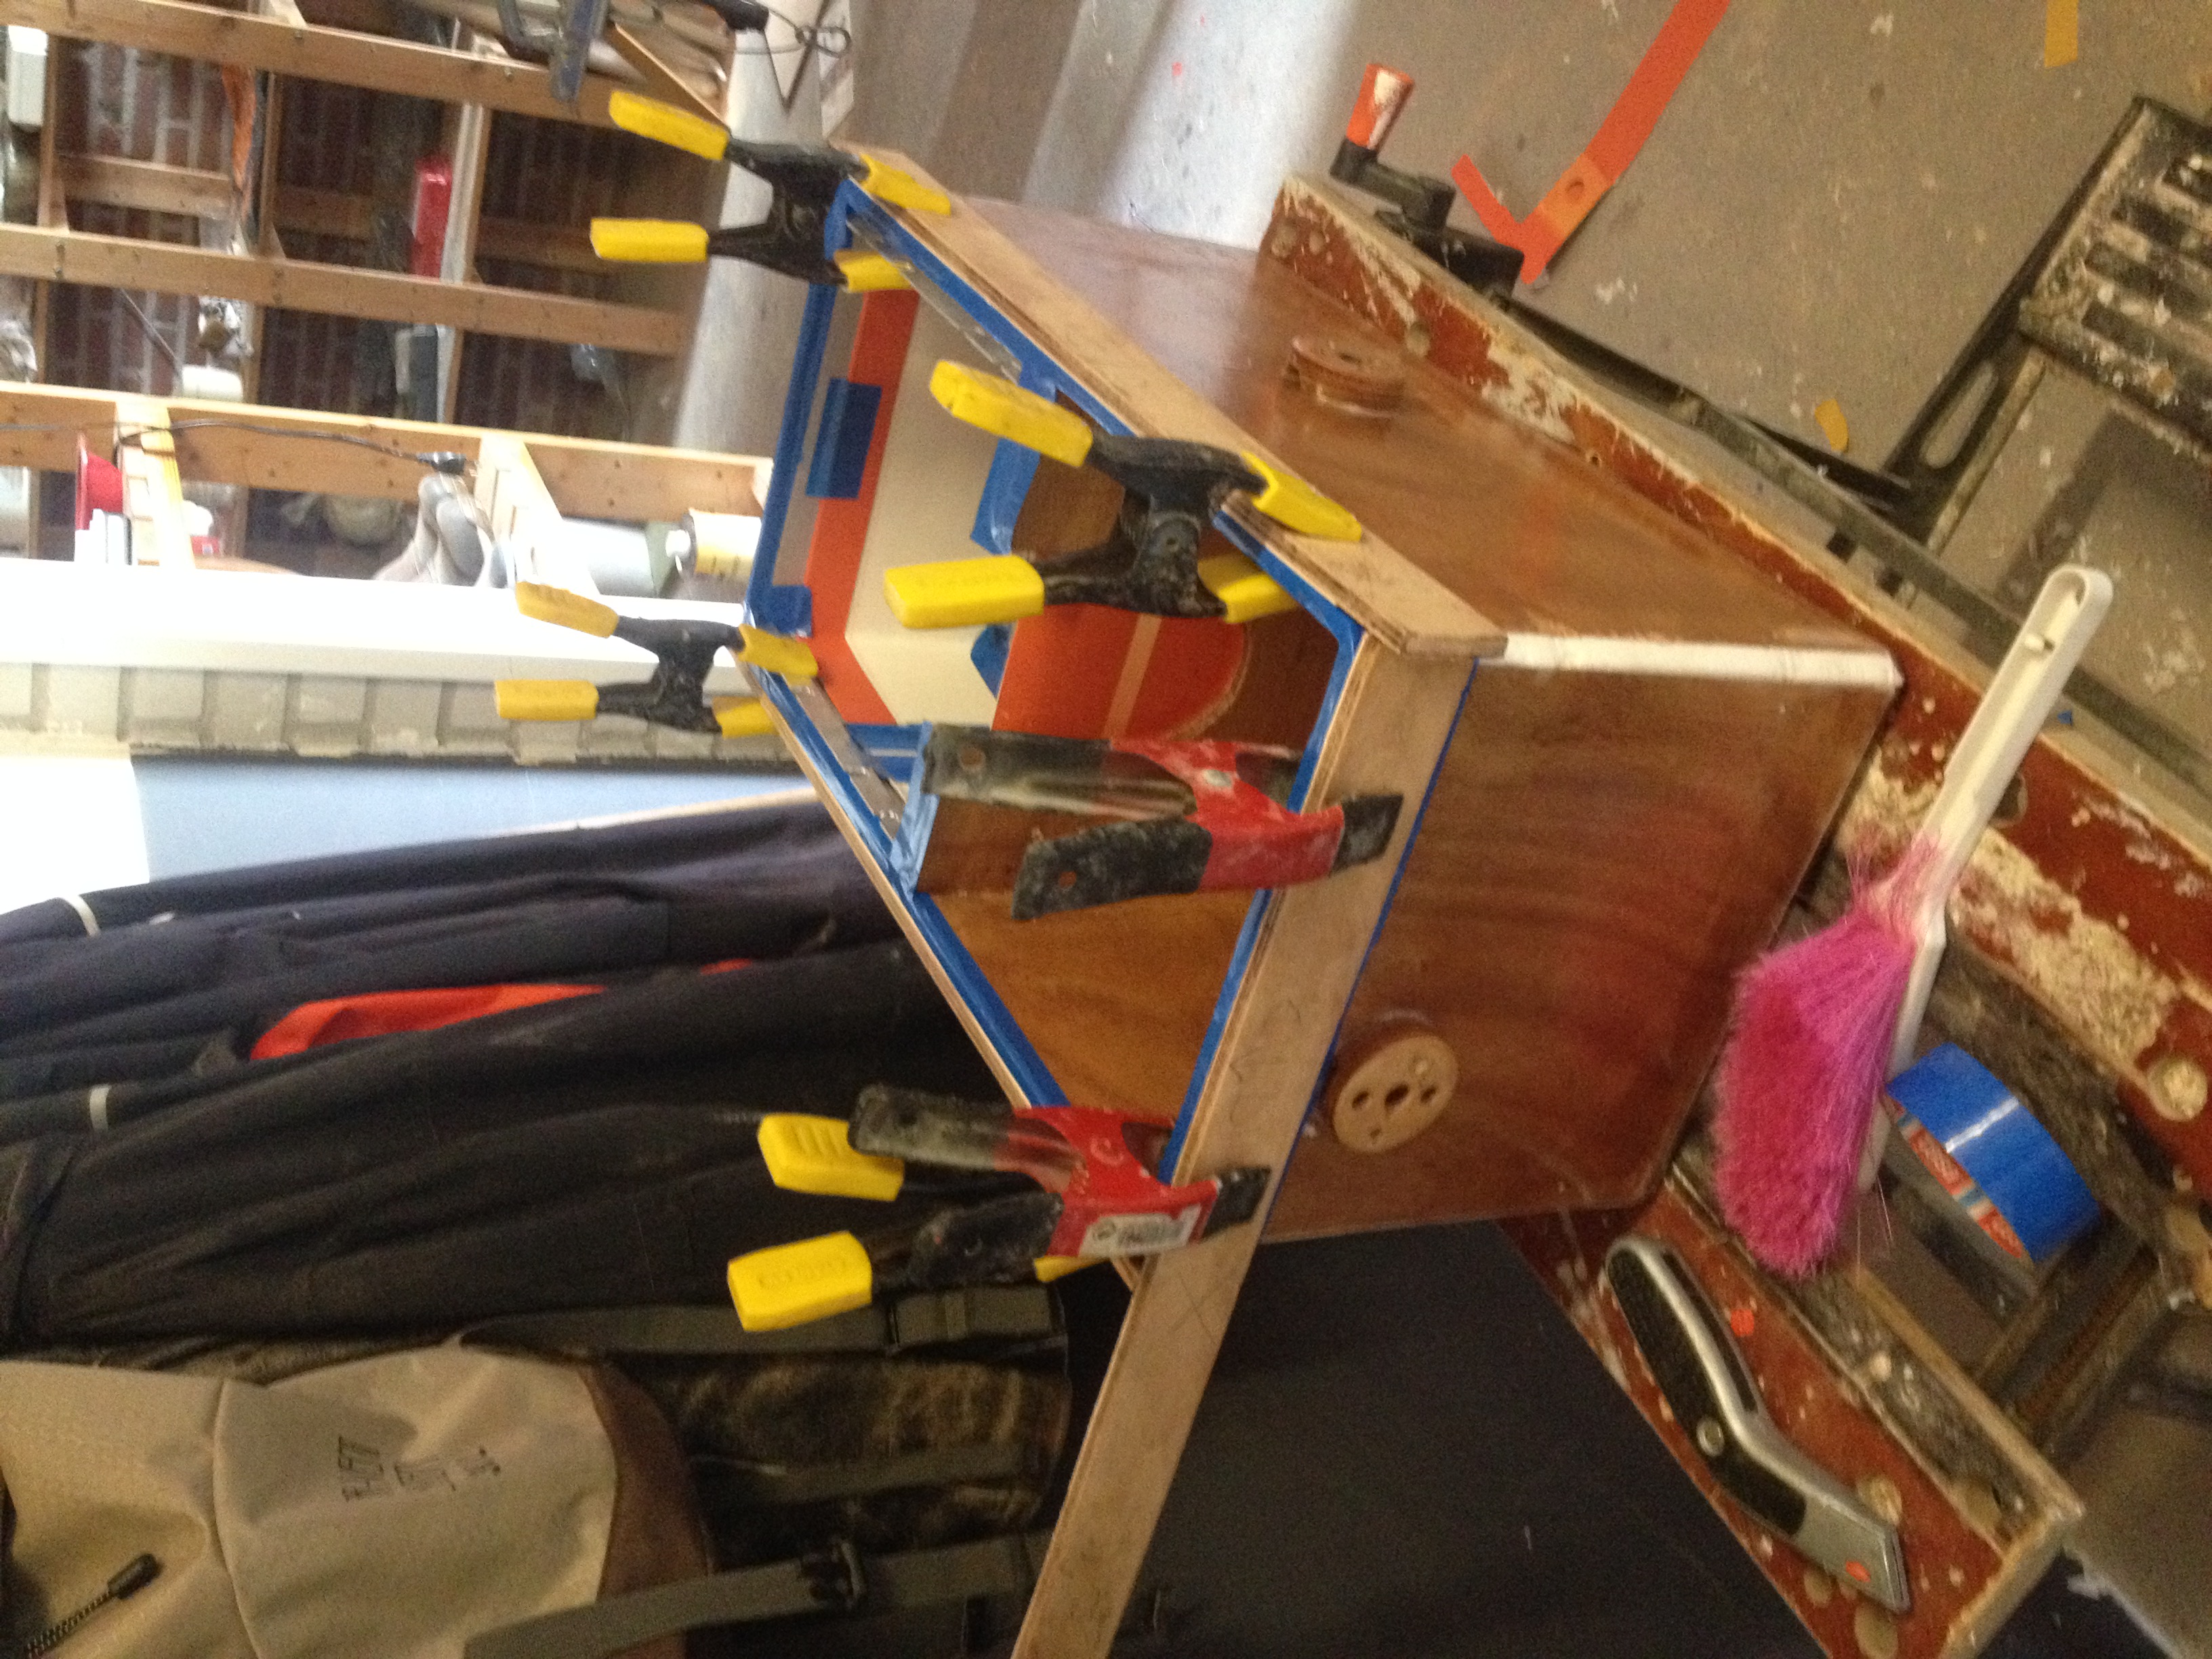 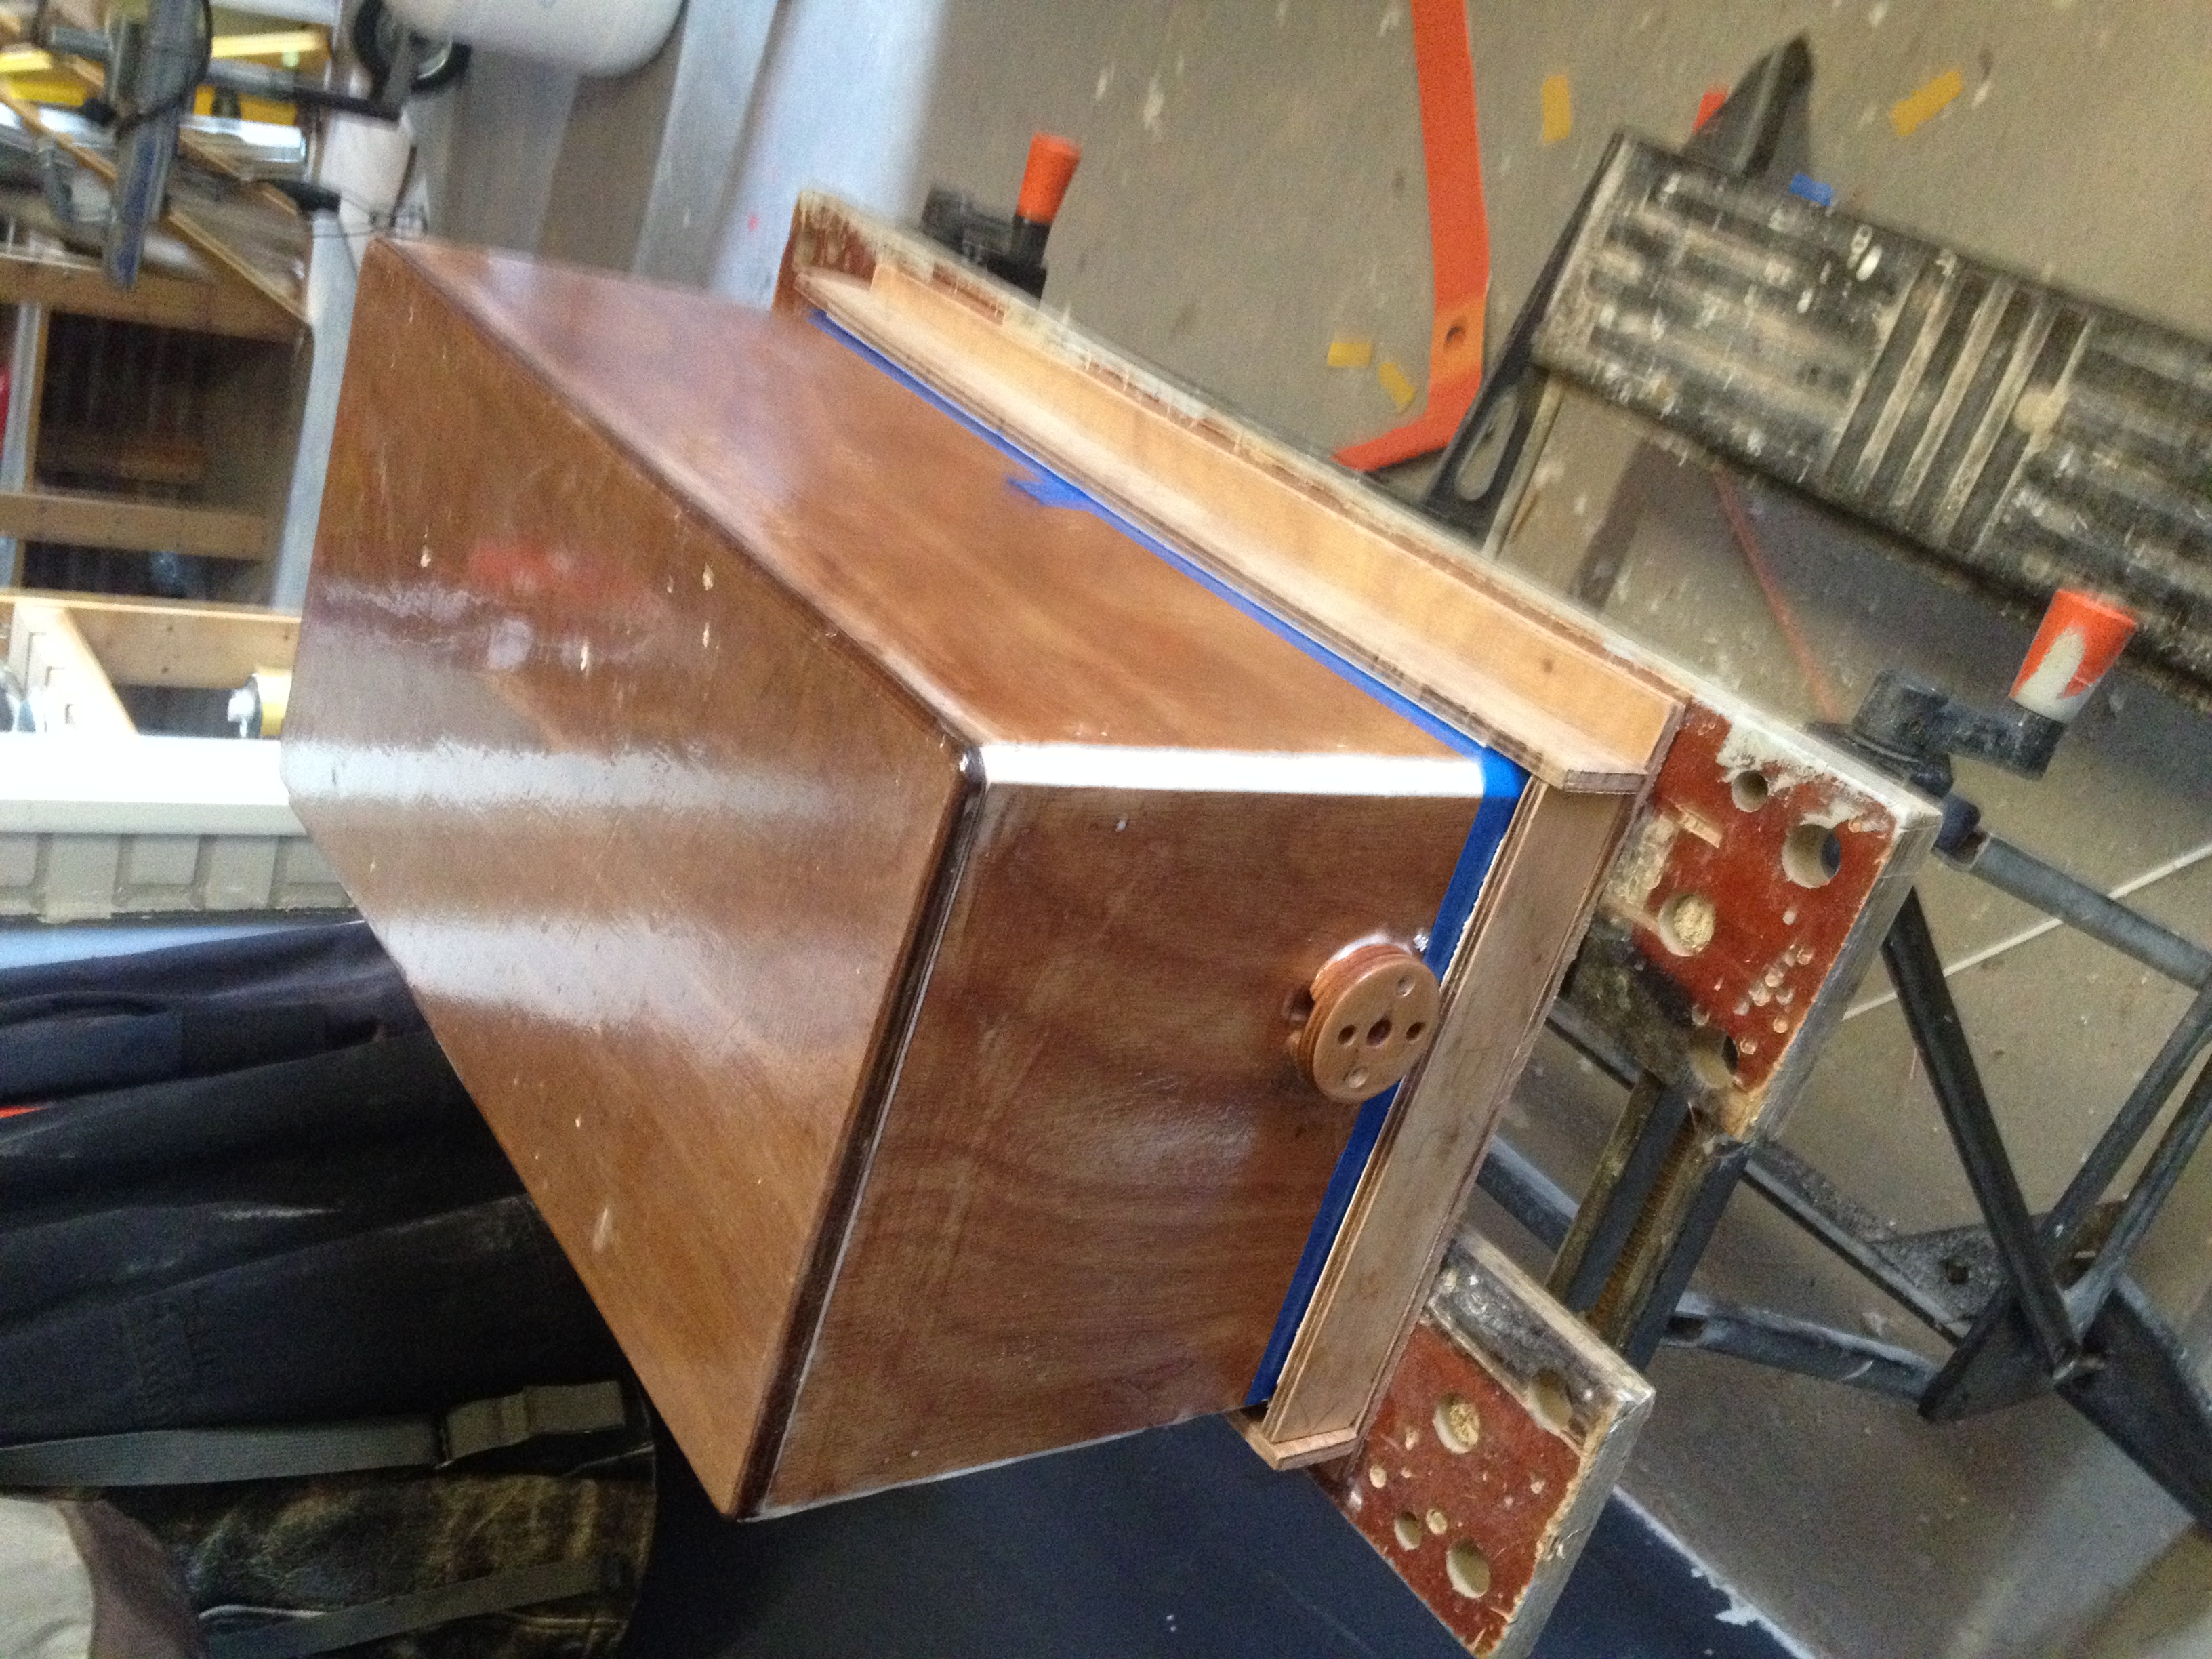 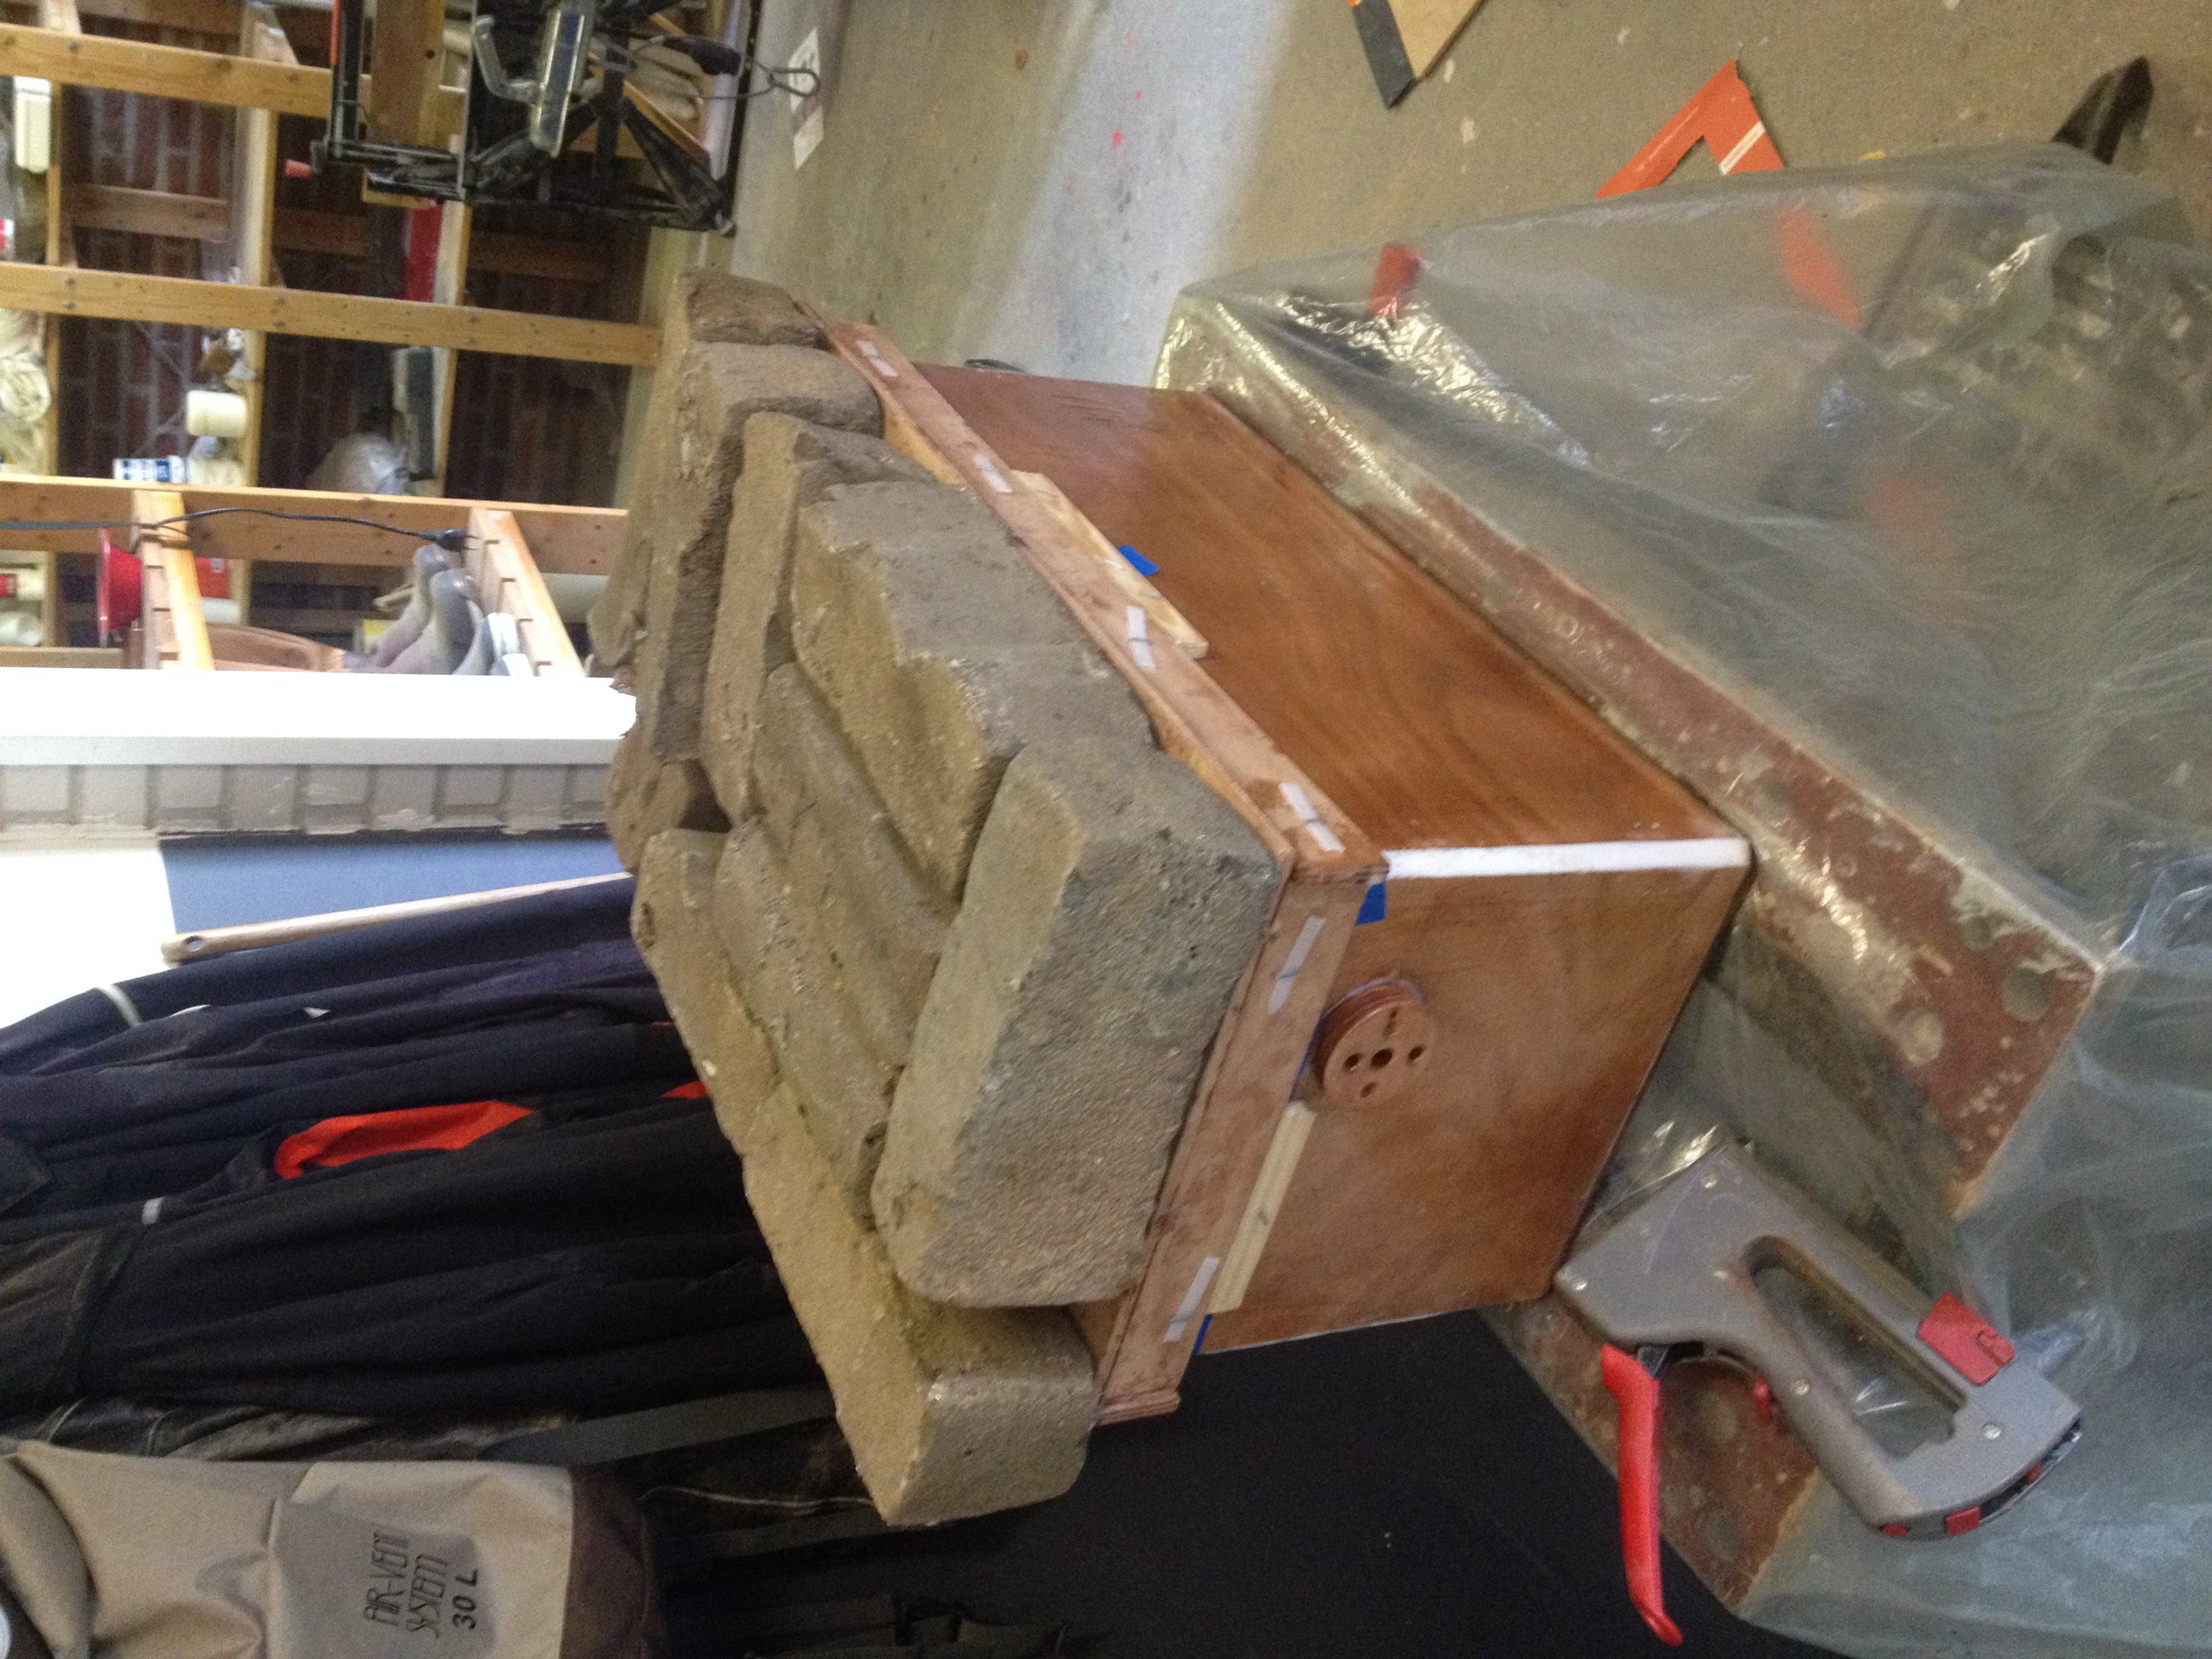 |