A 15ft Pram for Dinghy Cruising
20180625
20180626
20180627
20180628
20180629
20180902
20180915
20181014
20190208
20190422
20190510
20190511
20190512
20190525
20190601
20190803
20190804
20190805
20190807
20190811
20190819
20190820
20190821
20190822
20190823
20190828
20190908
20190922
20200216
20200603
20200612
20200712
20200718
20200719
20200727
20200822
20200905
20200910
20200911
20200912
20200913
20200920
20210305
20210509
20210724
20210905
20210912
20211003
20220430
20220508
20220603
20220618
20220821
20220828
20220904
20220911
20221009
20230423
20230520
20230528
20230625
20230805
20230806
20230810
20230903
20230906
20230910
20230911
20231001
20231008
20240423
20240515
20240603
20240614
20240623
20240710
20240714
20240716
20240720
20240723
20240725
20240726
20240727
20240730
20240908
20240915
20240929
20241007
20241019
20241021
20241110
20250420
20250421
20250422
20250428
20250504
20250505
20250622
20250630
20250707
20250716
20250717
20250718
20250719
20250720
20250721
20250724
20250725
20250825
20250907
20250910
20251019
<<
>>
20200920 |
|
Published in Dinghy Cruising Journal 249 A Galley Box for HatseflatsThis year we cooked on board for the very first time. Having moored Hatseflats alongside a jetty, I put the burner on deck to boil some water. When the water was heating up, some powerboats passed us a little too closely. While they left wallowing in their wake I had trouble to balance the burner and its heavy load. This drove the lesson home that I needed a solution which stabilized both pan and burner. Wary of yet another DIY adventure I reasoned that surely outdoor or trekking stores would be able to supply me with a ready-made product that I could buy. I trawled many web sites but did not find any. When I googled for 'galley box' and 'wannigan' I was swamped with all sorts of home-made varnished portable cabinets. Most of them had drawers and doors for plates and cutlery. Many dinghy cruisers with the same problem tended to roll their own galley boxes, each tailored to the needs of their owner or pecularities of their host (the cruising dinghy). Reluctantly I joined the army of galley box builders. The rest of this article is to give an insight in my design and build decisions. I hope this may somehow help you when you tackle your very own galley box project. The purpose of my galley box was to provide a stable platform for both burner and pans. I made my box around a small Campingaz Bleuet burner (C206 cartridges), but the principle would also work with other stoves.I made a rack and rails to hold my Bialetti coffee pot, a small pan for boiling water and a small sauce pan. The walls around the burner were lined with alloy to provide basic fire protection. The next problem was how to turn the gas knob on the burner under the cooking pan without burning my hands.I solved this with a removable panel which was lined with alloy sheet on the inside.You take it out or push it aside before you turn the gas knob. I did not use a hinge in order to keep the box as simple as possible. As I have no talent for joinery I did not add doors or drawers. Aside from their complexity and extra weight I feared they would not be watertight and hard to open when wet.So I stuck with a simple waterproof box with a lid which I could hang from the cockpit seat.The dimensions were determined from the plates and pans that would go inside while I made the box small enough to hang from the cockpit seat without sticking out. The box is suspended from the cockpit seat using a dyneema line lashed down with a carabiner. The dyneema line and carabiner are attached to tie-downs glued to the outside of the galley box.Simple and watertight. Some tips for planning and building your own galley box:
 A simple box without holes or screws. 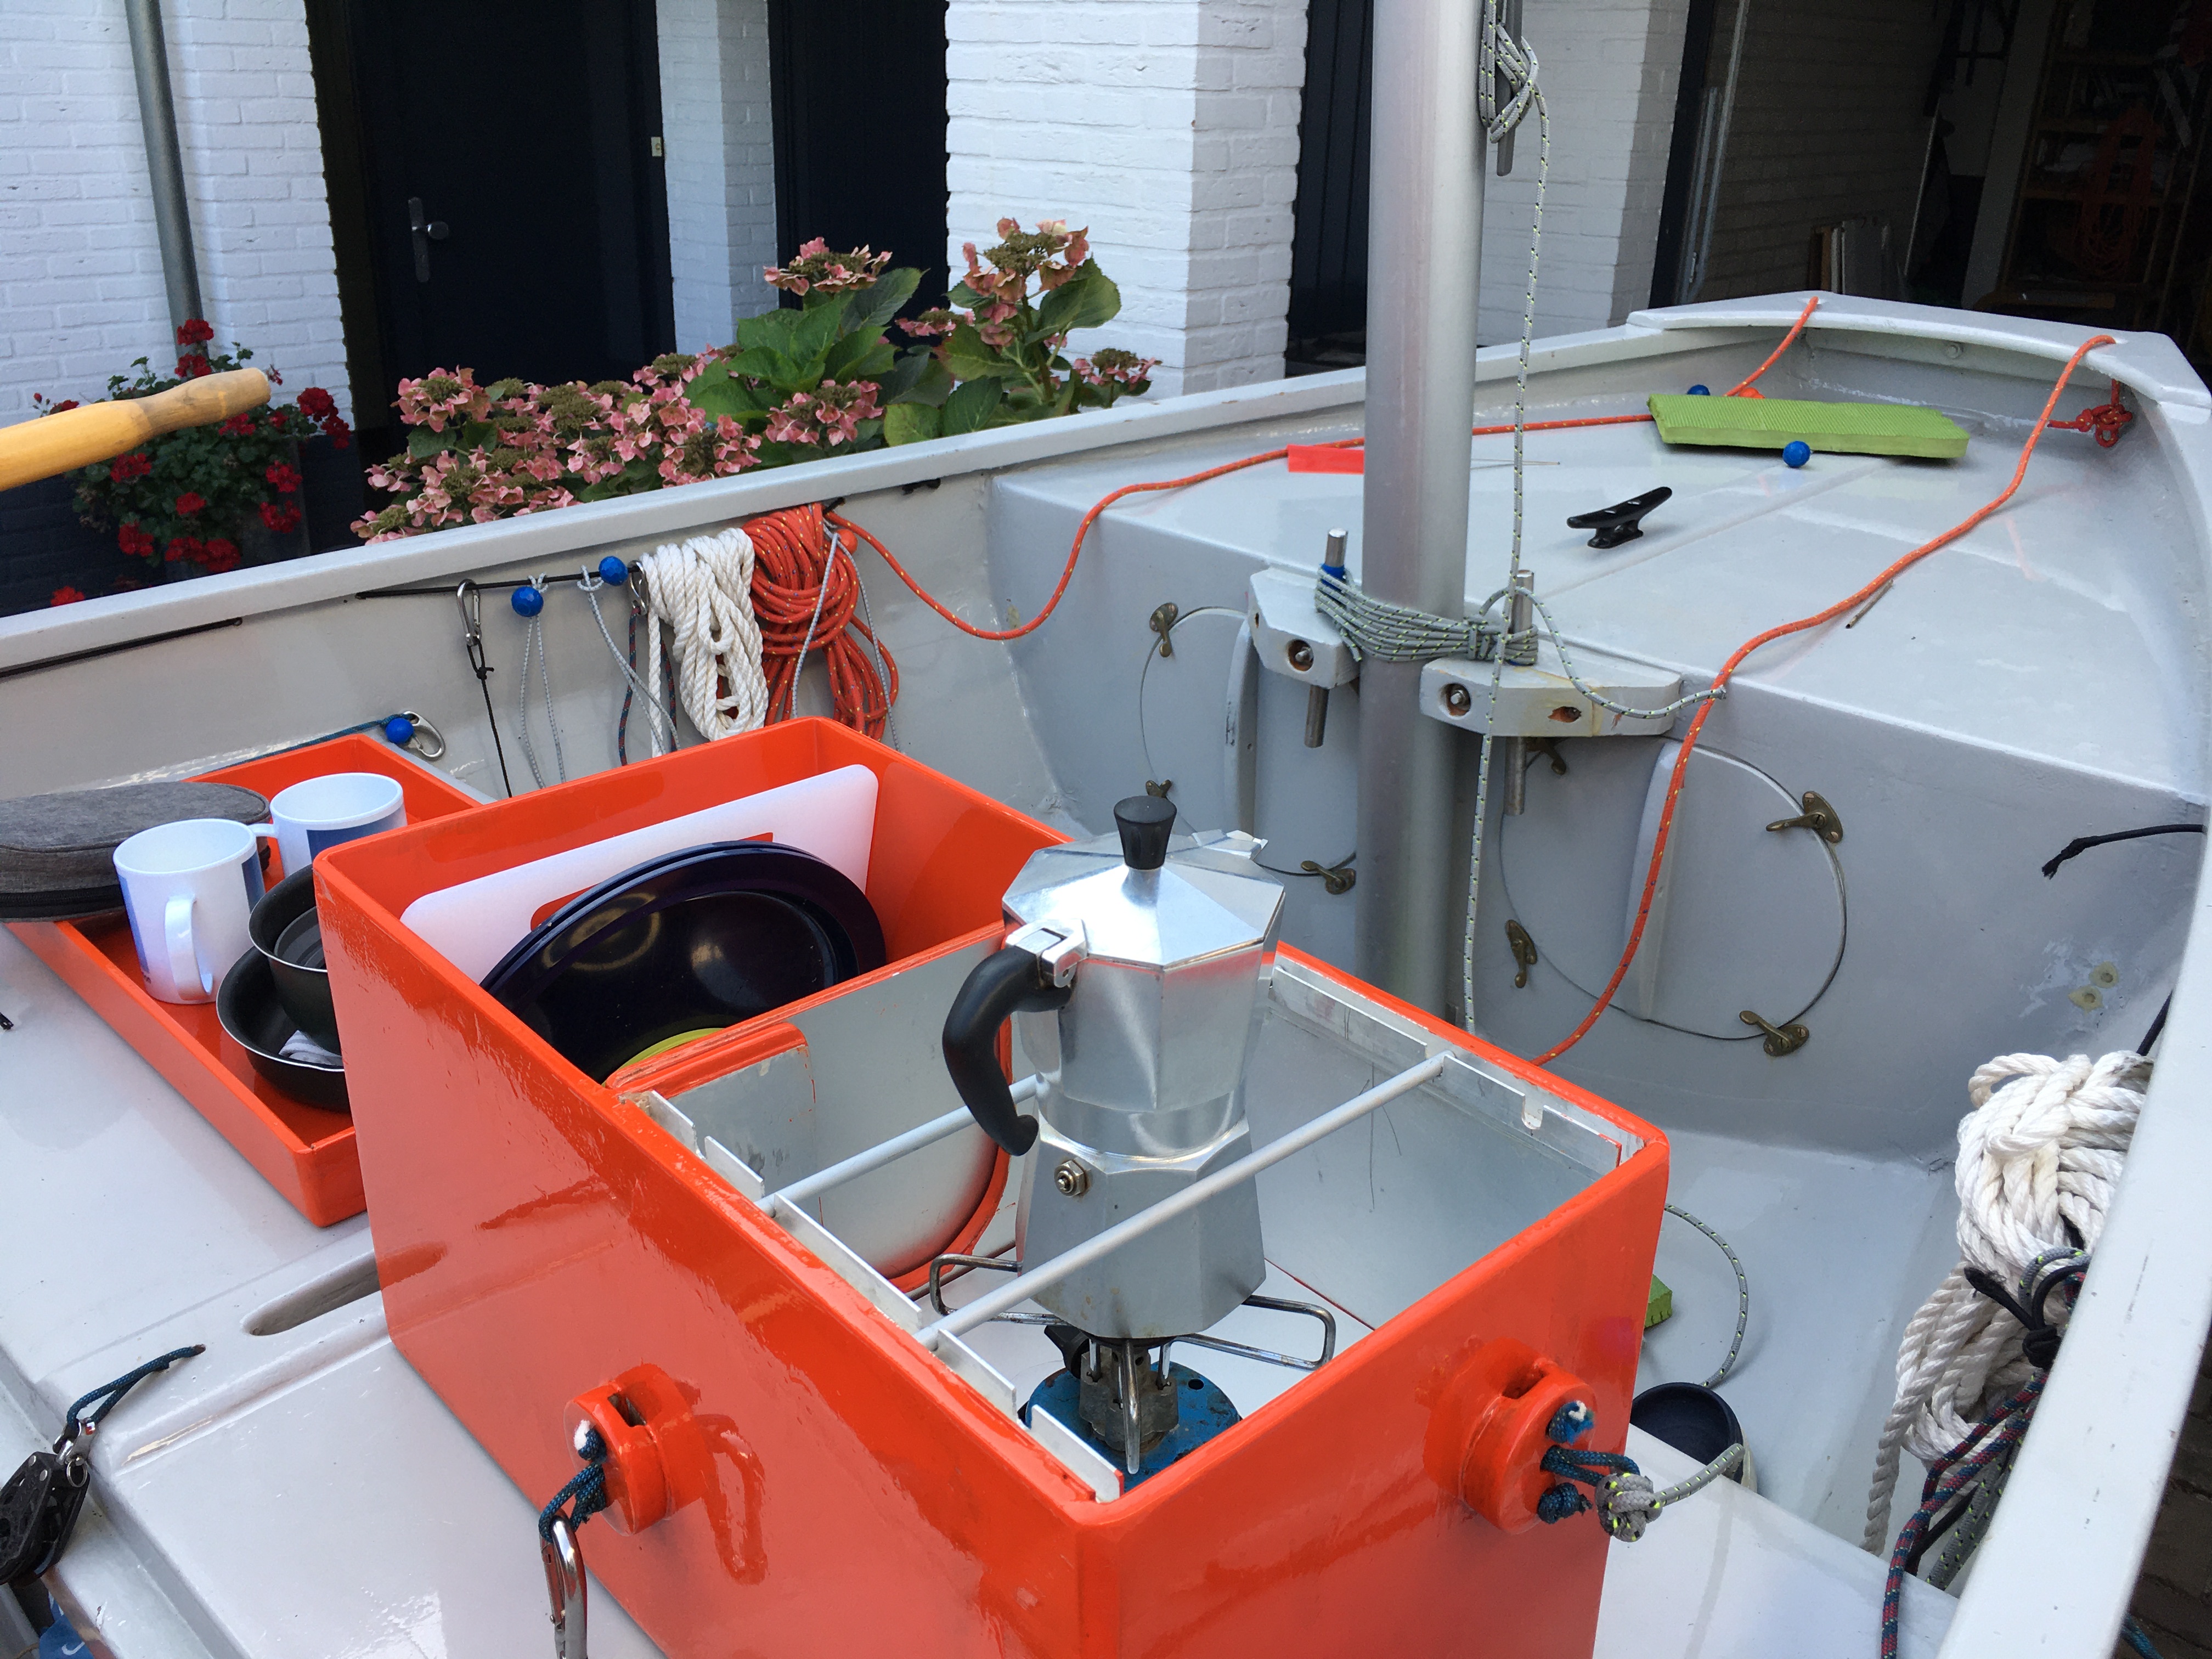 A stable platform for cooking 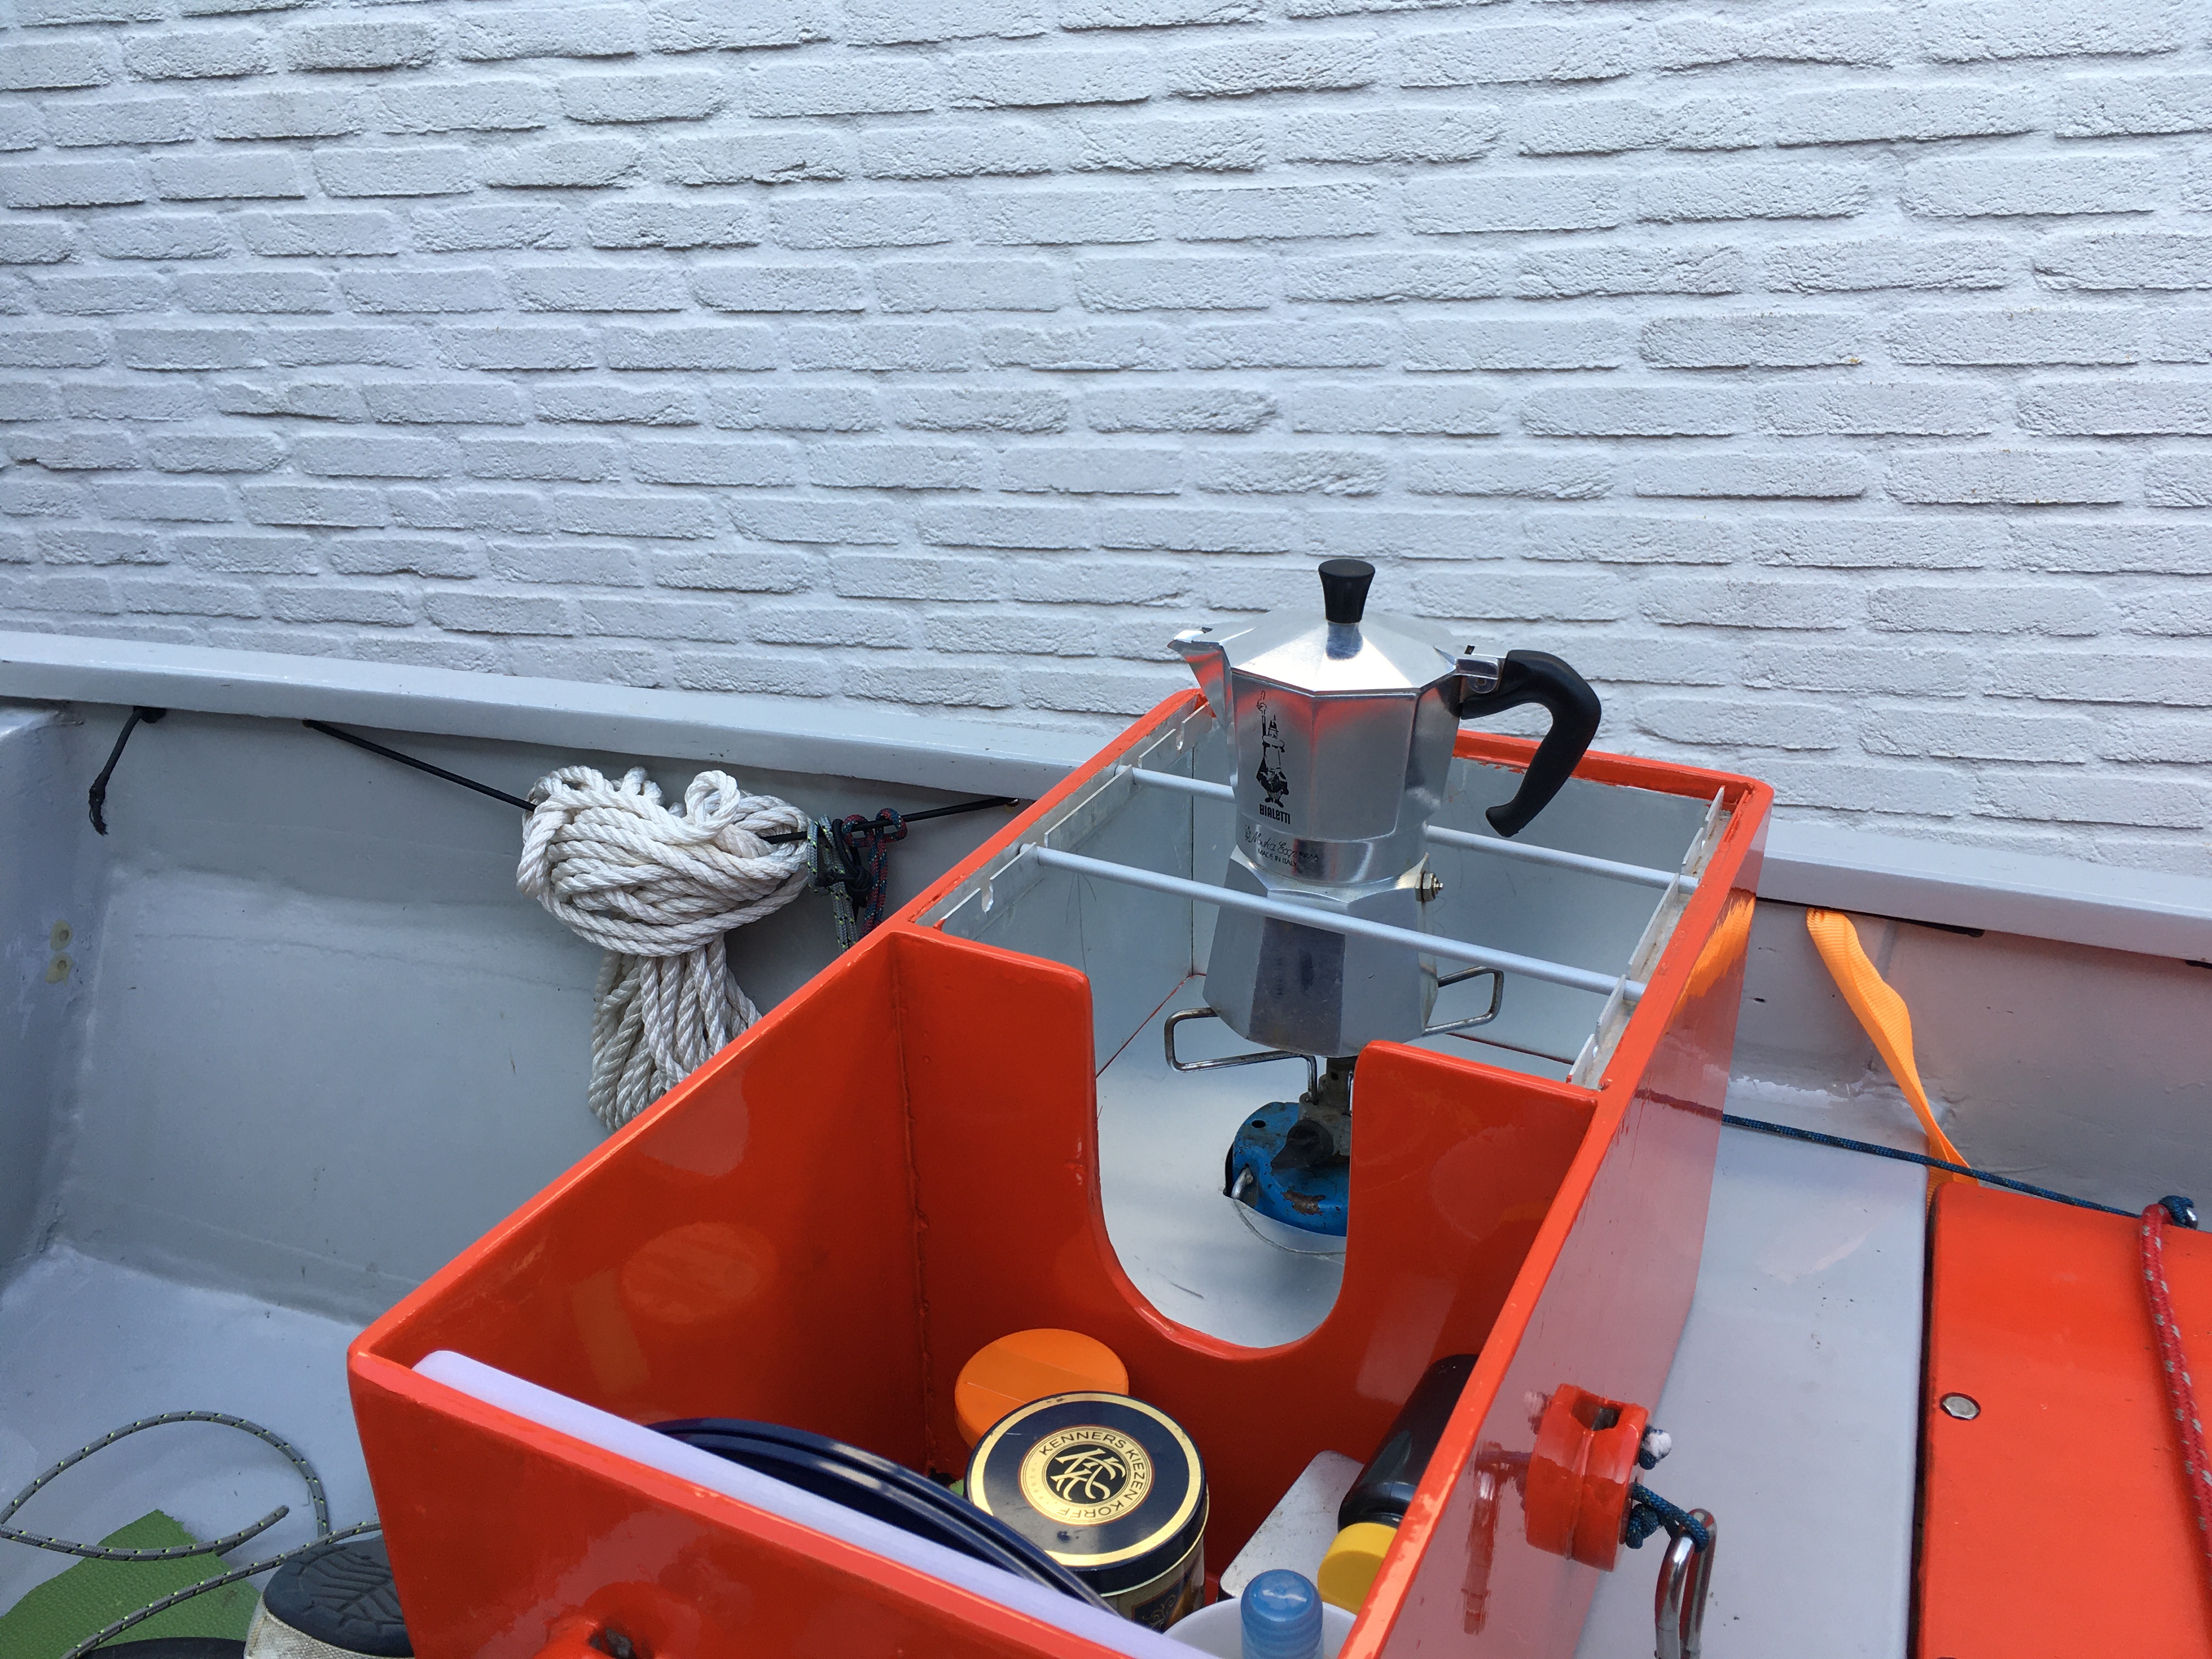 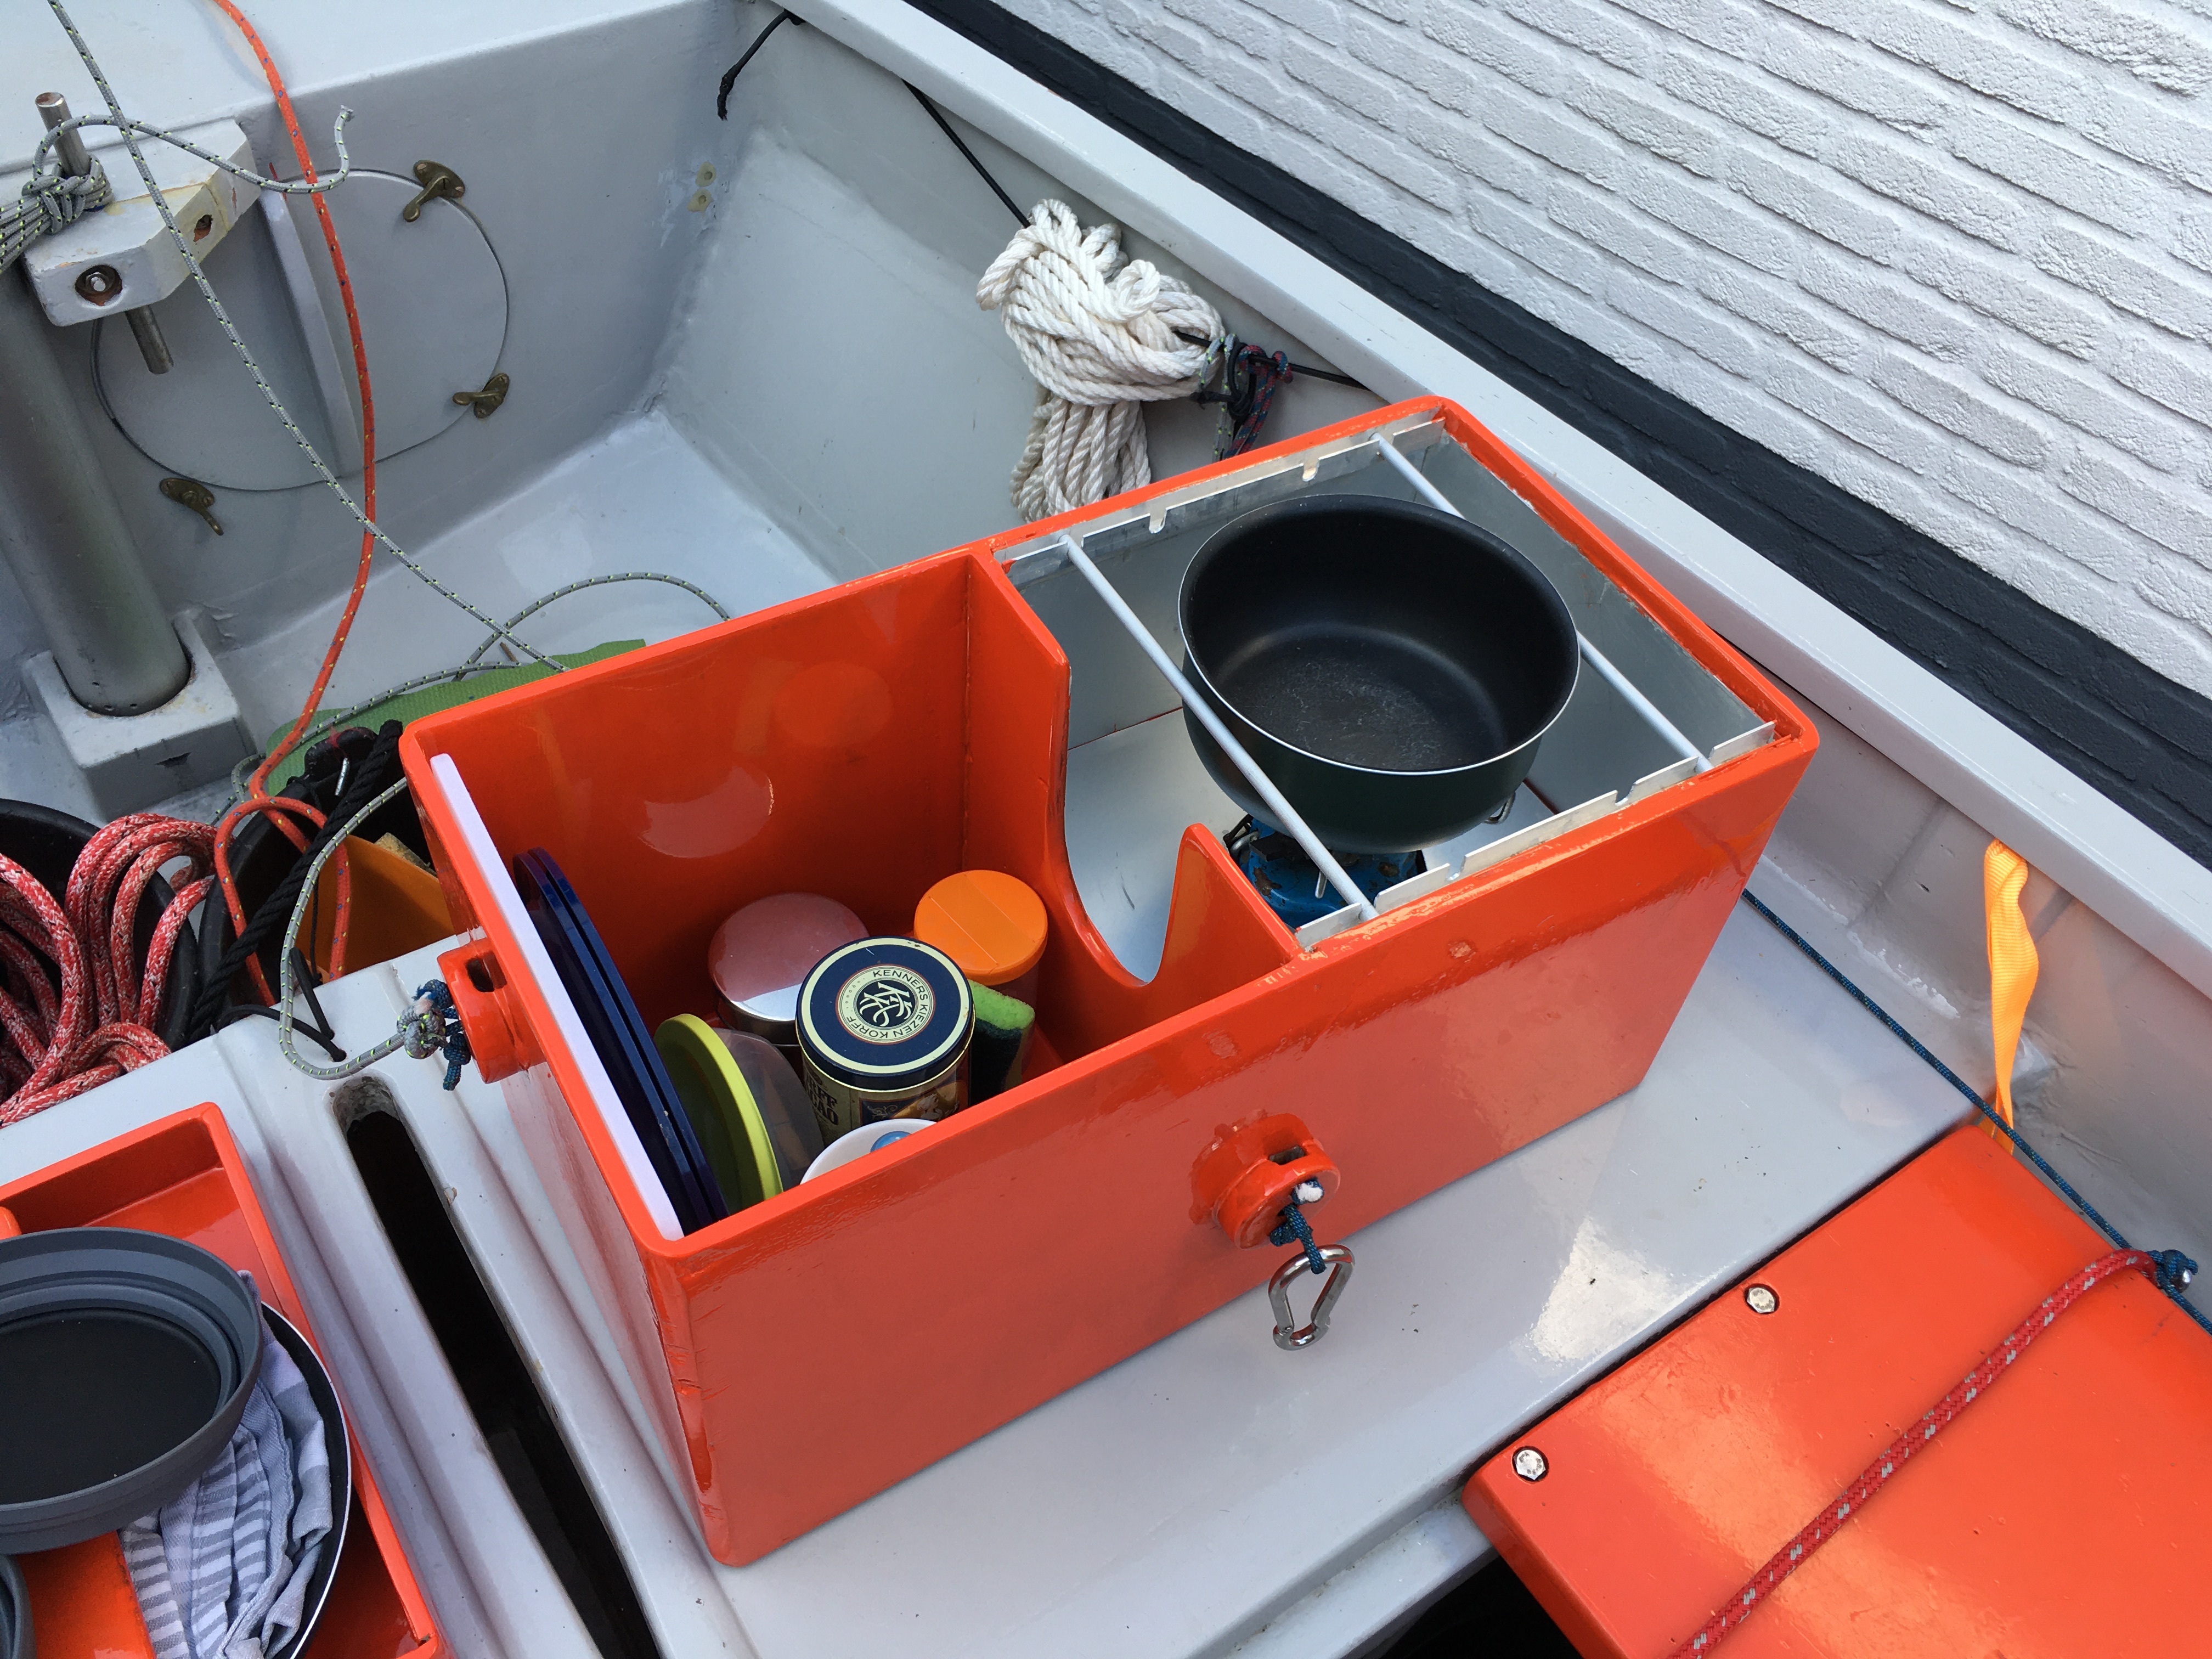 Removable panel taken out to control the gas flow 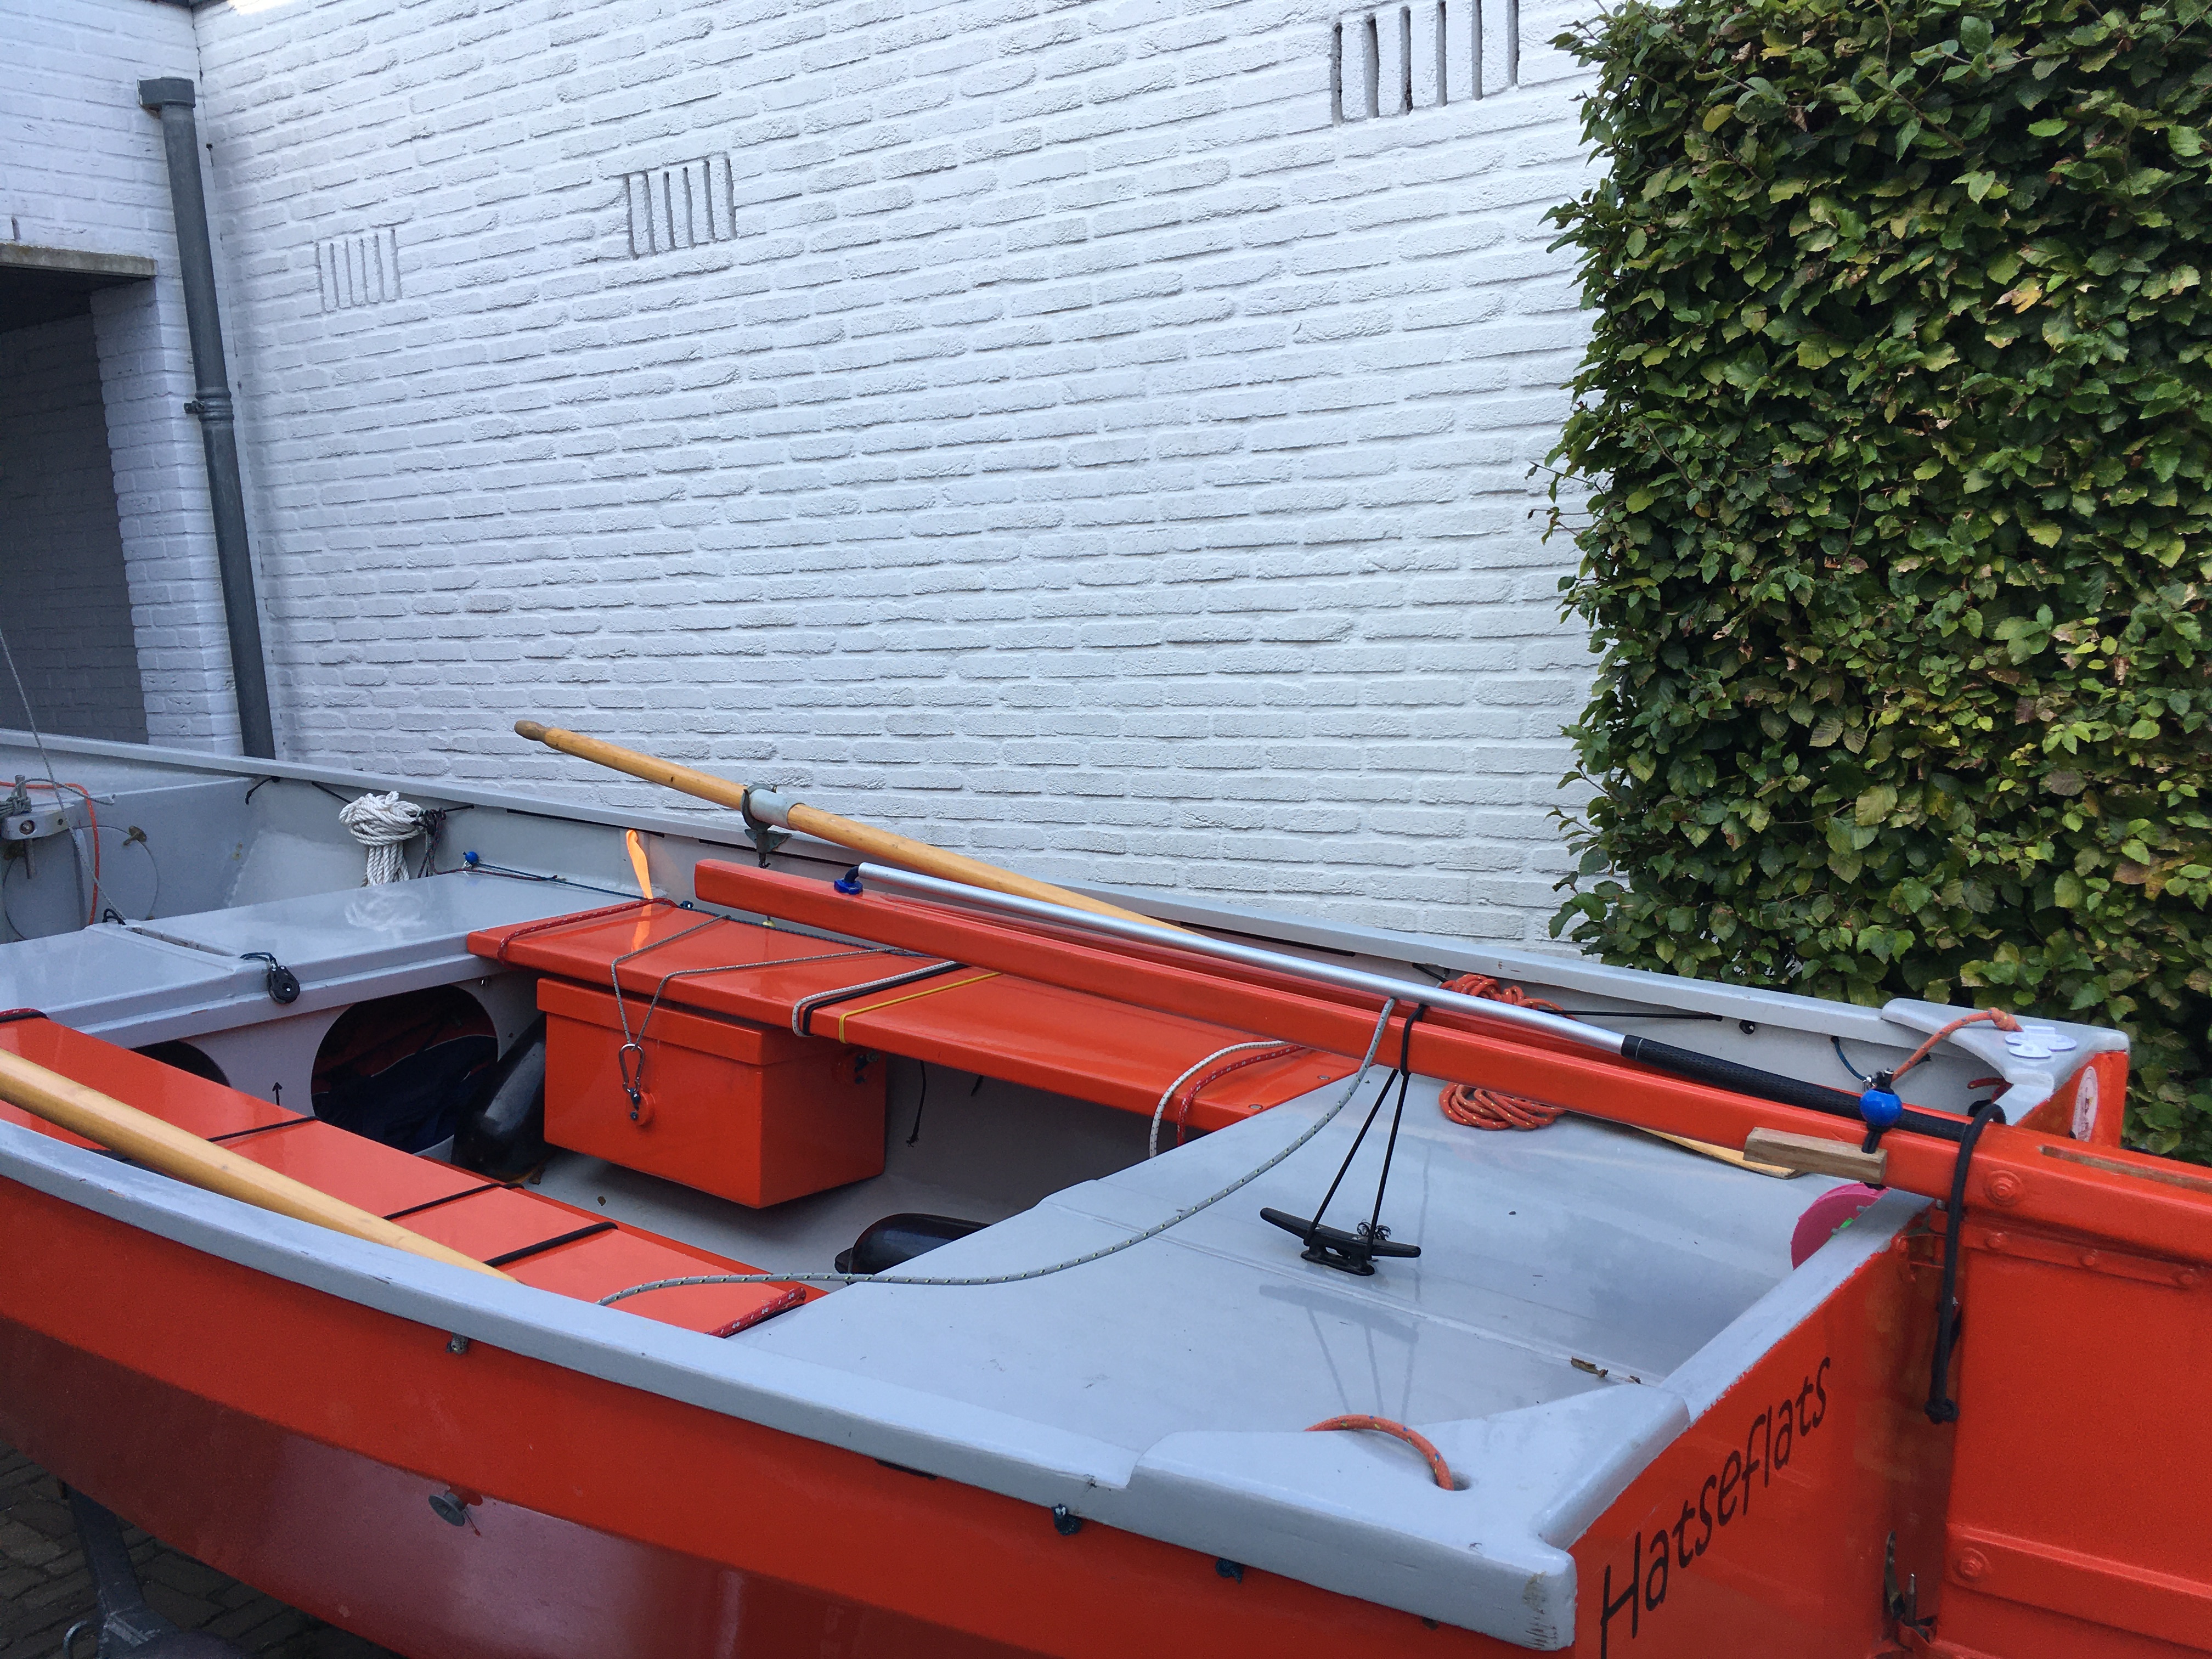 Galley box hanging from cockpit seat |